How to Convert Audio to Video: Easy Steps & Top Tools
Learn how to convert audio to video effortlessly. Discover simple methods and best tools to create engaging videos from your audio files today!
8 Oct 2025

Turning your audio into a video is surprisingly straightforward. At its core, you're just marrying your sound file with a visual—maybe a static image, a cool waveform, or subtitles—and packaging it all as a video file.
This simple step unlocks the door to visual-first platforms like YouTube and Instagram. It massively expands where your content can live and who it can reach.
Why Turning Audio Into Video Is a Smart Move

In a world dominated by visuals, keeping your work as audio-only is a huge missed opportunity. You can't upload an MP3 to Instagram Reels, TikTok, or YouTube. But a video? That's their native language.
This isn't just about getting past the upload filter. It’s about creating a much stickier experience. Even a basic image gives your audience something to anchor their attention to.
Add in a dynamic waveform or some clean subtitles, and you can instantly grab people who are just scrolling with the sound off. That visual layer makes your content feel more polished and memorable.
Expand Your Audience and Boost Discoverability
One of the most powerful reasons to do this is to tap into entirely new audiences. By turning your podcast snippet, new song, or even a voice memo into a video, you're meeting people on their own turf. It’s a game-changer for visibility.
Think about the Indian audio streaming market. A massive 93% of people there are eager to see their favourite audio content repurposed into a visual format. That's a clear signal that people want more engaging, multi-sensory experiences.
On top of that, search engines like Google love video. Hosting your content on YouTube can give your search rankings a serious boost, pulling in organic traffic that would have missed your audio-only files. For more on this, check out how video content boosts brand engagement.
Make Your Content More Shareable
Plain and simple, video is more shareable than audio. A punchy clip with captions is perfect for social media stories, easy to drop into a blog post, and quick to share in a group chat. This creates a natural ripple effect, helping your message spread far and wide.
Giving your audio a visual form is like giving it a passport. Suddenly, it can travel to new platforms, reach new audiences, and make a much bigger impact than it ever could on its own.
This is especially true for musicians. It's not just about the music anymore; it's about the whole package. Understanding why music videos are essential for promotion shows how turning a track into a visual experience elevates it from just a song to a complete artistic statement.
Choosing the Right Tools for the Job
Picking the right software can feel overwhelming, but it boils down to what you need to get done. The "best" tool isn't the one with the most bells and whistles; it’s the one that fits your project, comfort level, and budget.
A podcaster who needs dozens of short clips for Instagram has different needs from a musician creating a visual for YouTube. The podcaster values speed, while the musician might focus on artistic vibe.
A Quick Look at Audio to Video Conversion Tools
Here’s a breakdown of different tools to help you pick the best one for your project, budget, and skills.
Tool Type | Best For | Key Features | Price Range |
|---|---|---|---|
Free Online Converters | Quick, one-off projects with a static image and a single audio track. | Simple drag-and-drop interface, no installation needed. | Free (often with watermarks) |
Desktop Video Editors | Professional projects requiring multi-track audio, effects, and full creative control. | Advanced editing tools, high-resolution exports, custom animations. | £20-£50/month or one-time purchase |
AI-Powered Platforms | Creators who need high-quality videos quickly, without a steep learning curve. | Automated subtitles, dynamic visuals, AI-generated clips, branding kits. | Free tiers available; paid plans from £15/month |
This table gives you a good starting point. The right choice depends on balancing your time, budget, and what kind of final product you're aiming for.
Different Tools for Different Goals
Free online converters are brilliant for simple jobs. Got a single audio file and a background image? These web-based tools get it done in minutes, but the trade-off is often a watermark or limited quality.
On the other end, powerful desktop editors like Adobe Premiere Pro or Final Cut Pro give you total creative freedom. They deliver professional-grade results but have a steeper learning curve and a bigger price tag.
Then there’s the middle ground, where AI-powered platforms like BeHooked shine. They handle the heavy lifting, automatically generating visuals and adding synced subtitles. It's worth exploring AI video tools to see how much they can simplify the process.
No matter which path you take, the basic workflow is pretty much the same.
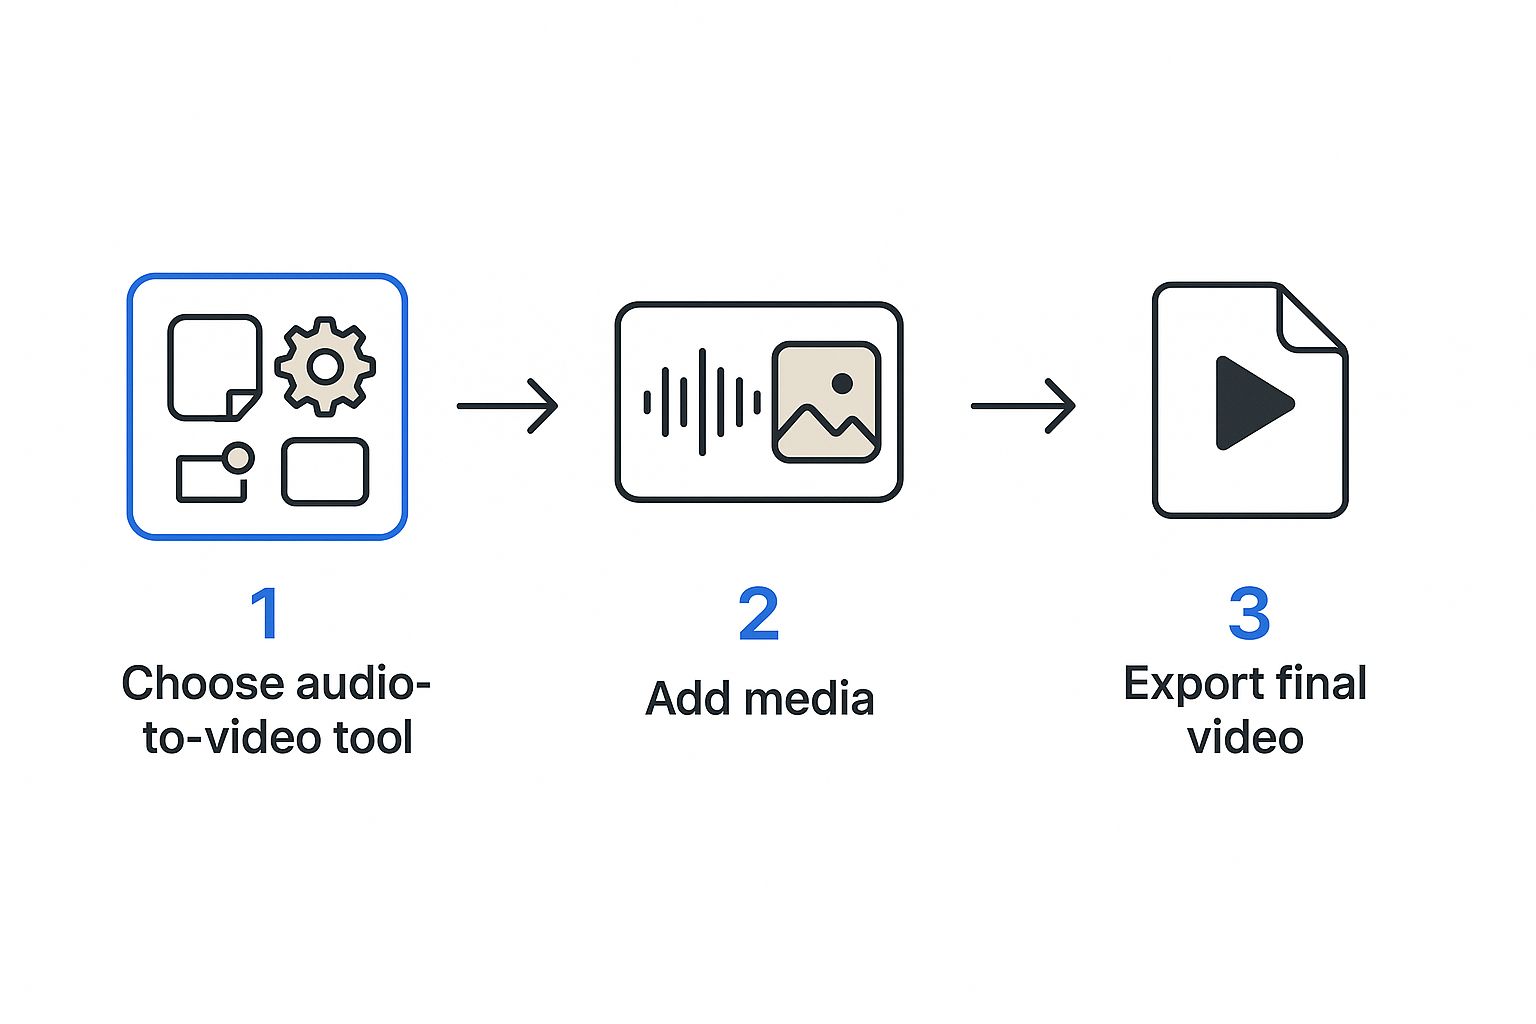
The only thing that changes is how much manual work you have to do at each stage.
Making the Right Choice for You
To figure out what's best, ask yourself a few honest questions:
What's my budget? Are you looking for something free, or will you invest in a subscription for better features?
How much time do I have? Do you need a video in 5 minutes, or can you set aside hours for detailed editing?
What are my tech skills like? An intuitive tool will save you frustration if you're not a seasoned video editor.
The goal is to find a tool that empowers your creativity, not one that becomes a technical roadblock. Your time is better spent on your message than on fighting with complicated software.
If you value both quality and efficiency, an AI-powered platform often hits that perfect sweet spot. For a more detailed comparison, take a look at our guide on the best video creation software.
Getting Your Audio Ready for Video
Before you touch a single video clip, your audio needs to be in top shape. Clean, crisp audio is the foundation of a great video, and spending time here will pay off big time.
Think of it this way: your audio is the story. If it's muffled by background noise or has jarring volume changes, no amount of flashy editing will save it.
Cleaning Up Your Audio File
First, get rid of the junk. That faint computer hum, distant traffic, or an echoey room can make your recording sound amateur. Use an audio editor to remove those distracting noises.
Next, normalise the volume. This ensures the audio levels are consistent, so viewers aren't constantly adjusting their volume. For a guide on this, check out these video background noise removal techniques.
I've learned that an audience will forgive slightly blurry visuals, but they will click away in seconds if the audio is bad. Clear sound is the bedrock of viewer retention.
While you're at it, snip out any long silences or filler words like "um" and "ah." This makes your delivery sound more confident and keeps the momentum going.
Choosing the Right Audio Format
Let's talk file types. For turning audio into video, two formats stand out.
WAV: Think of this as your high-resolution master copy. It's uncompressed, keeping all the original sound data. It's perfect to use while editing for the highest possible quality.
MP3 or AAC: These are the workhorses for the web. They are compressed, delivering great quality in a smaller file size, making them ideal for the final video upload.
My workflow is straightforward: edit in WAV to maintain quality, then export the final video with AAC audio for easy sharing and fast streaming.
Smart Editing for Better Engagement
Here's a pro tip: your editing process is a chance to multiply your content. That one-hour podcast interview is a goldmine of clips for social media.
Go through the recording and pull out the most powerful, interesting, or funny 2-3 minute segments. You can easily turn these snippets into standalone micro-videos for Instagram Reels, TikTok, or YouTube Shorts.
This is how you work smarter. One recording can become a dozen pieces of shareable content that drives new listeners back to your full episode.
Creating Visuals That Complement Your Sound
Now that your audio is crisp, it’s time for the fun part—giving it a visual identity. This is where you can get creative and create something that hooks people in.
The idea is to build a visual experience that elevates your sound, not overpowers it. A great visual can be as simple as a high-quality background image that fits the vibe of your audio.
Got an upbeat, motivational clip? Use a vibrant photo. Discussing something serious? A clean, professional backdrop is a better fit. What people see should feel connected to what they hear.
From Simple to Dynamic Visuals
For a quick win, create a dynamic audiogram. This shows a moving sound wave—a waveform—that pulses with your audio. It’s a subtle but effective way to signal that there's active audio, nudging viewers to turn the sound on.
Many tools, including AI-powered ones like BeHooked, can create these automatically. They add just enough motion to keep the eye engaged, which is miles better than a static image.
Another great trick is to use high-quality stock footage. If your audio is about nature, layer it over clips of a forest or coastline. Suddenly, your audio clip feels more immersive and memorable.
Weaving in Your Brand Identity
Beyond the background, let's talk about your brand. Sticking to your brand’s colours, fonts, and logo helps people recognise your work instantly. Consistency builds trust and a loyal audience.
Here are a few things to keep in mind:
Consistent Colour Palette: Use your brand’s colours for backgrounds, text, and waveforms.
Recognisable Fonts: If you have on-screen text, stick to your brand's typography.
Logo Placement: Add a subtle watermark or logo in a corner of the video.
This deliberate visual branding is a game-changer. In India, digital content consumption is through the roof, with over 86% of internet users streaming audio and video. By creating a distinct brand, you can grab their attention. You can read more about this growing digital consumption in India.
The best visuals act as a supporting character to your audio's starring role. They should complement the message, reinforce your brand, and hold the viewer's attention without stealing the show.
For musicians, this can get even more creative. If you're turning a song into a video, think about how visuals can tell its story. For ideas, check out our guide on how to create a lyric video.
Adding Subtitles and Graphics for Impact

A huge number of people watch videos with the sound off. If your video is just a static image with audio, you’re losing a massive part of your potential audience. Text elements are your secret weapon for engagement.
Adding subtitles isn’t just a nice-to-have; it’s critical. Think about someone scrolling their feed. Your video needs to grab their attention instantly, even on mute. Clear captions can be the very thing that stops that scroll.
Making Subtitles Work for You
Thankfully, adding subtitles is no longer a painstaking manual task. The quickest route is using an automated tool. AI platforms like BeHooked can transcribe your audio and generate synced subtitles in minutes. It's a huge time-saver. We’ve listed more in our guide to the top AI subtitle generators for 2025.
Of course, you can still go the manual route. It takes more time, but transcribing by hand gives you absolute control, which is great for technical content or highly stylised videos.
Subtitles aren't an optional extra. They're a fundamental part of modern video, making sure your message connects whether the sound is on or off.
Whichever path you choose, don't forget to style your captions. The goal is readability. Pick a clean font and make sure it has enough contrast to stand out against your background.
Beyond Captions: On-Screen Graphics
Subtitles are a great start, but why stop there? Simple on-screen graphics can elevate your video by highlighting key points.
Consider adding a few simple elements to reinforce your message:
Bold Headlines: Introduce a new topic or a big takeaway.
Key Bullet Points: Summarise important details or list out steps.
Numbered Lists: Break down a complex process to make it easier to digest.
These small additions guide your viewer’s attention and reinforce what they’re hearing. This is especially effective in markets like India, where the audio series audience is projected to grow to 540 million by 2027. You can find out more about India's audio growth on storyboard18.com.
Exporting and Sharing Your Finished Video

Alright, you've done the hard work. Your audio sounds crisp, the visuals are spot on, and your video is ready. Now comes the final, crucial part: exporting and sharing it.
Getting this last stage right is what separates a professional-looking video from one that just feels off. It’s all about packaging it correctly for where people will see it.
Matching Your Video's Shape to the Platform
The single most important decision is choosing the aspect ratio. This is just a fancy term for the shape of your video, and it's not one-size-fits-all. Each platform has its own preferred dimensions.
Choosing the right format ensures your video fills the screen perfectly. Here’s a quick rundown:
16:9 (Horizontal): The classic widescreen look. It’s the go-to for YouTube or embedding on your website.
9:16 (Vertical): The tall format that dominates Instagram Reels, TikTok, and YouTube Shorts.
1:1 (Square): A versatile option that works beautifully on Instagram and Facebook feeds.
My Pro Tip: Before you hit that final export button, do one last "pre-flight check". Watch the entire video from start to finish. You’d be surprised how often you’ll catch a tiny audio sync issue or a typo. A few minutes now can save you the headache of re-uploading later.
Conclusion
So, there you have it. You've seen how powerful turning your audio into video can be, and you've got the roadmap to do it yourself. From picking the right tool to getting your audio just right and adding those all-important visuals, you’re ready to go.
This isn’t just about putting a static image over a sound file. It’s about giving your voice a visual home, making your content more shareable, and reaching people on platforms where they live and breathe video.
Now, the only thing left is for you to give it a try. Take what you've learned here, fire up your first project, and see what you can create. It's your turn to make some noise—visually.
Frequently Asked Questions
1. Can I convert audio to video for free?
Yes, you absolutely can. Many free online tools allow you to combine an audio file with a static image to create a basic video. While they often come with limitations like watermarks or lower quality exports, they are a great way to start without any financial commitment.
2. What is the best way to make an audio-video more engaging?
To make your video more interesting than just a static image, create an audiogram. This adds a dynamic waveform that moves with the sound. Also, use animated subtitles that highlight words as they're spoken and consider adding relevant stock video clips (B-roll) to visually support your audio content.
3. Which video format is best for social media platforms?
The best format depends on the platform. Use a 16:9 horizontal aspect ratio for YouTube. For mobile-first platforms like Instagram Reels, TikTok, and YouTube Shorts, a 9:16 vertical format is essential. A 1:1 square video is a versatile choice that performs well on Instagram and Facebook feeds.
Ready to skip the manual work and turn your audio into compelling videos? BeHooked uses AI to handle everything for you, from creating visuals and subtitles to adding the final polish. Start creating professional videos in minutes today.