Create a Pro Video Editing Tutorial Video
Learn to create an engaging video editing tutorial video. This guide covers planning, recording, and using AI tools to produce high-quality content.
30 Oct 2025

Making a great video editing tutorial isn't just about what you know; it's about how you share it. To hook your viewers, you need a workflow that's as sharp as your final cut.
Getting that polished, professional look often feels like a marathon of endless post-production and missed deadlines.
Why Your Tutorial's Quality Actually Matters
Ever scroll through YouTube and notice some tutorials have millions of views while others barely get noticed? It all boils down to quality and how efficiently the information is delivered.
Viewers today have zero patience for content that’s confusing, poorly edited, or just plain slow. A top-tier video doesn't just teach a skill—it builds your credibility and makes people trust your brand.
But let's be real, you know the struggle. Hours bleed away in post-production, leading to inconsistent quality and frustrating delays. This isn't just a headache; it's a huge industry problem.
In the Indian video editing market alone, an eye-opening 75% of projects get bogged down by long post-production cycles and clunky, outdated software.
A Smarter Way to Create
Luckily, you don't have to be stuck in that cycle. A modern approach can help you sidestep these common roadblocks. When you mix smart planning with the right tools, you can create a professional video editing tutorial video that genuinely grabs your audience's attention.
The goal is to focus on what really moves the needle:
Speed: Automating the tedious, repetitive stuff to get your time back.
Consistency: Keeping your quality high across every single video you publish.
Engagement: Crafting dynamic, punchy content that keeps eyes glued to the screen.
In this guide, I'll walk you through how to use an AI-powered platform like BeHooked to totally rethink your creation process. You’ll learn how to make a tutorial that not only teaches effectively but also makes your brand look amazing.
A good starting point is understanding just how powerful video can be. You can learn more about why video content boosts brand engagement fast in our other article. By the time we're done, you'll have a clear roadmap for creating better tutorials, faster—without the burnout.
Planning Your Tutorial for Maximum Impact
Before you even think about hitting the record button, the real work begins with a solid plan. This is where you map out your tutorial's entire journey, making sure every single second is packed with value for your viewer.
First things first, who are you talking to? Are you guiding a complete beginner or showing a seasoned pro a new trick? Knowing your audience is everything.
Once you know your audience, narrow your focus down to one key takeaway. People jump into tutorials to solve a specific problem, fast. Your video needs to make a clear promise. Instead of a broad topic like "video effects," get specific with something like, "How to Create a Silky-Smooth Slow-Motion Effect in 5 Minutes."
Structuring Your Content to Keep People Watching
A great structure is what separates a good tutorial from a great one. My favorite trick? Show them the awesome final result right at the start. This immediately proves your tutorial is worth their time.
From there, break the process down into bite-sized, logical steps. Don't throw a wall of information at them. Think of it like you're building with LEGOs—you hand them one piece at a time.
This approach makes even the most complex techniques feel easy to master. As you're mapping this out, using a good video content creation checklist for beginners can be a lifesaver to make sure you haven’t missed anything.
Your script is a guide, not a manual. Write it like you're explaining something to a friend sitting right next to you. Keep it conversational, clear, and simple.
Finally, think beyond just your screen recording. What other visual helpers can you add to make things pop? Plan these out before you record.
Text Overlays: Perfect for highlighting keyboard shortcuts or key terms.
Zooms: To draw the viewer's eye to a tiny button or a specific setting in a crowded interface.
Arrows & Circles: A simple but powerful way to point out exactly what you're clicking on.
Planning these little visual cues ahead of time makes your instructions incredibly easy to follow and keeps your audience locked in from start to finish.
Recording Clear and Professional Footage
You don't need a fancy studio to create footage that looks and sounds incredible. The real secret to a polished tutorial is starting with clean, high-quality raw material.
When you start with crisp visuals and clear audio, the editing process is so much smoother. Instead of spending hours fixing problems, you can focus on creativity. It's a foundational step that makes your video editing tutorial video stand out.
Choosing Your Screen Recording Tools
The software you use to capture your screen can make or break your tutorial. You're looking for something that records in high resolution but doesn't grind your computer to a halt.
Here are a few I've had good experiences with:
OBS Studio: This is a powerful, free option that gives you total control. It's perfect when you need to capture detailed software walkthroughs.
Loom: I love this for quick, easy recordings. The built-in camera bubble makes it ideal for more personal, conversational tutorials.
Camtasia: A great all-in-one paid tool. It combines screen recording with a solid video editor, which really simplifies the whole workflow.
Whichever you go with, always record in at least 1080p. This ensures all the on-screen text and tiny interface details are perfectly sharp for your viewers.
Getting Crisp Audio and Flattering Light
Believe it or not, your audio quality is often more important than your video. People will stick around for slightly grainy footage, but they will click away if your audio is muffled or full of distracting background noise.
A simple USB microphone is a huge upgrade from your laptop’s built-in mic and well worth the small investment.
Clean audio is non-negotiable. It’s the foundation of a great tutorial, building trust and keeping your audience locked in on what you're teaching.
Lighting doesn't have to be complicated, either. A decent setup can completely change how you look on camera. We've actually put together a detailed guide on creating a great lighting setup for video recording if you want to dive deeper.
One of the best light sources is a big window. Just sit facing it, and you'll get soft, natural light that washes away harsh shadows. It instantly creates a more professional and welcoming vibe.
Editing Smarter with AI-Powered Tools
This is where the magic really happens. Forget manually hunting down every 'um,' awkward pause, or bit of dead air. Modern AI platforms can do all that heavy lifting for you, turning hours of tedious work into a few simple clicks.
Let's say you're creating a video editing tutorial video. The old way involved ages of just cleaning up the raw recording. But an AI tool like BeHooked handles that first pass automatically, so you can jump straight into what matters most.
This chart drives home just how much of a difference an AI-assisted workflow makes compared to doing it all by hand.
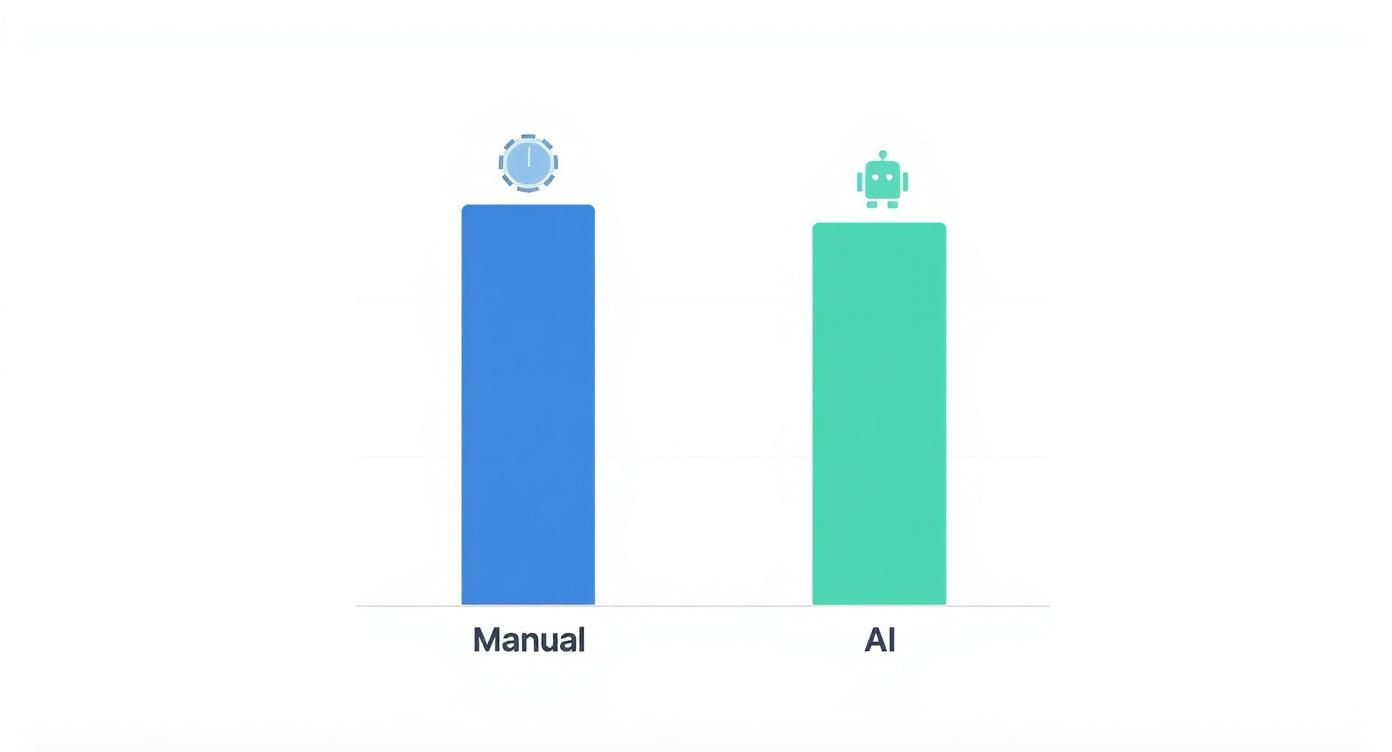
As you can see, what once took up a whole afternoon can now be knocked out in minutes. That’s more time you have to perfect your story.
A More Efficient Way to Edit
AI isn't just about cutting out the bad bits; it's about making your final video better. By taking care of the boring, repetitive tasks, it frees you up to think about the bigger picture—the pacing, the narrative, and the creative touches.
Here’s a quick look at how much faster specific tasks become when you let AI do the work.
AI Editing Features vs Manual Editing Time
Editing Task | Manual Editing Time (Approx.) | AI-Assisted Time (Approx.) |
|---|---|---|
Removing Filler Words | 30-60 minutes | 2-5 minutes |
Trimming Long Pauses | 20-40 minutes | 1-3 minutes |
Generating Subtitles | 45-90 minutes | 5-10 minutes |
Sourcing B-roll | 60+ minutes | 10-15 minutes |
These aren't just minor tweaks; they're genuine game-changers for your workflow.
Think about what this means for your process:
Silence Removal: Your tutorial instantly feels tighter and more professional.
Subtitle Generation: You get accurate subtitles with a single click, which is a must for social media.
B-roll Suggestions: The AI can even suggest relevant stock clips or graphics to illustrate your points.
This smarter way of working is quickly becoming the new standard. In India alone, the digital audience is set to hit 467 million users by 2025. That’s a massive demand for high-quality video, and AI tools are the key to creating it efficiently.
By letting AI handle the mechanical parts of editing, you're not replacing creativity; you're creating more space for it. It’s about working smarter, not harder.
The idea of using AI to improve visuals isn't just for video. Understanding how to make photos look professional with AI can give you great ideas for creating standout thumbnails for your tutorials. And if you're ready to find the right platform, check out our roundup of the top AI video editing tools.
Adding the Final Polish to Your Video
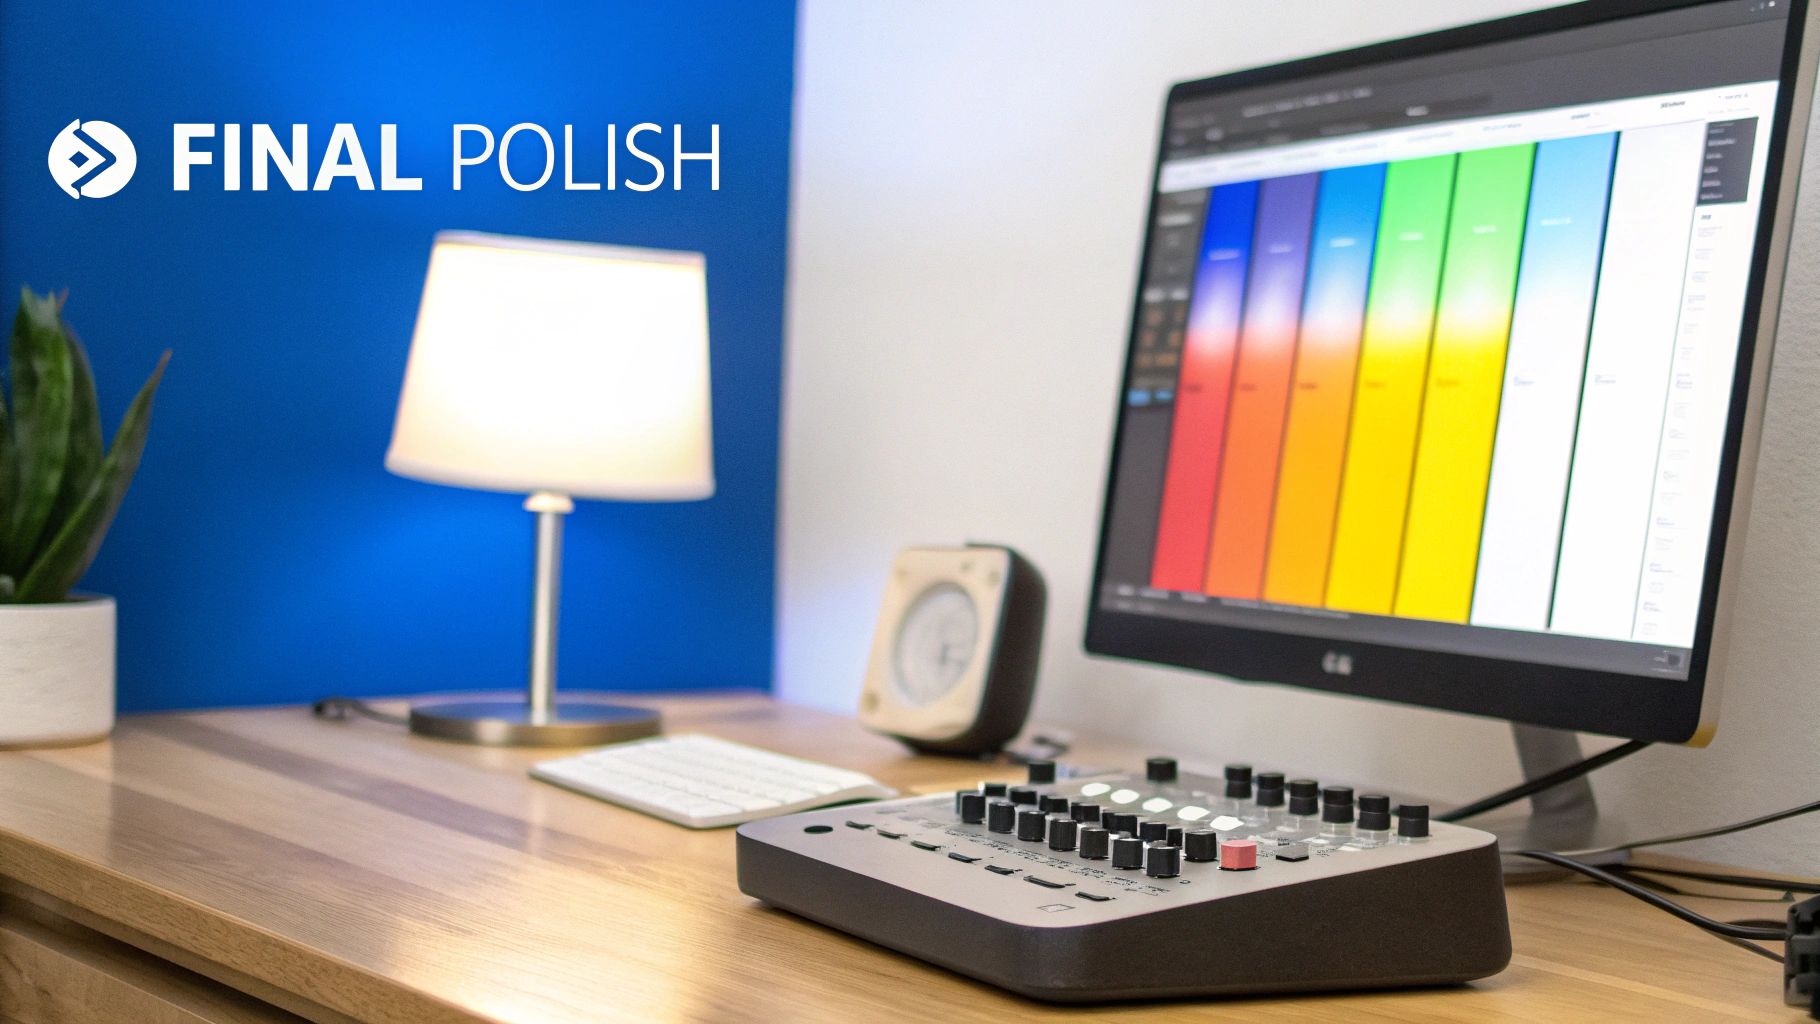
A solid edit is the foundation, but the finishing touches are what really make your tutorial stand out. These small details give your video editing tutorial video that professional sheen.
Let's start with background music. A good royalty-free track can completely change the vibe, setting the mood and keeping the energy up. The trick is to find the right balance. You want the music to complement your voice, not overpower it.
Guiding Your Viewers and Improving Quality
Beyond music, clean audio is non-negotiable. If your voiceover levels are all over the place or there's a constant hum, viewers will click away fast. If you're struggling with this, our guide on video background noise removal has some great, practical advice.
Next up, what do you want people to do when the video ends? Don't just let it fade to black. This is your chance to guide them with a clear call-to-action (CTA).
Verbal CTAs: A simple "if you found this helpful, subscribe for more tips" works wonders.
On-screen Graphics: You can also use a simple text overlay or an end-screen graphic.
Don’t just end your video abruptly. A clear call-to-action turns a passive viewer into an engaged subscriber or potential customer. It tells them exactly what their next step should be.
Finally, give your visuals a little boost with some basic colour correction. You don't need to be a professional colourist. Often, just a slight tweak to the contrast or saturation can make your screen recording look much sharper and more engaging.
Conclusion
Creating a top-notch video editing tutorial is an achievable goal. We’ve covered everything from planning and recording to smart, AI-driven editing and adding that final professional polish. This structured approach helps you sidestep the common headaches that trip up so many creators.
In booming markets like India, the demand for quality content is exploding. The mobile video editing scene there is projected to become a USD 0.29 billion industry by 2033. This presents a huge opportunity for skilled creators.
Think of tools like BeHooked as your creative partner. They handle the monotonous, time-sucking tasks, freeing you up to do what you do best: share your expertise and create engaging content. For more insights, this comprehensive guide on how to make videos that genuinely connect with people is an excellent resource.
Start putting these ideas into practice today. You'll see your content shift from just being good to becoming truly unforgettable.
Frequently Asked Questions
How long should my video editing tutorial be?
The ideal length depends on your topic's complexity. For a single-skill tutorial, like a simple jump cut, aim for 5 to 10 minutes. This is the sweet spot to be clear without losing your viewer's attention. For a multi-step process, you might need 15 to 20 minutes. The goal is to make every second count. Use your YouTube analytics to see where people drop off and adjust accordingly.
What is the most important element of a tutorial video?
Your audio quality. Viewers will often forgive less-than-perfect visuals, but they have zero patience for audio that is muffled, quiet, or hard to understand. If they can't clearly hear your instructions, they will leave. Investing in a decent external microphone is one of the best things you can do to ensure your teaching is crisp and effective.
Can AI tools replace a human video editor?
Not completely, but they act as incredibly efficient assistants. AI platforms excel at handling tedious, repetitive tasks like cutting out long pauses, generating accurate subtitles, and fixing simple mistakes. This frees up the human editor to focus on the creative aspects: storytelling, pacing, and the overall feel of the video. It's a partnership where AI and human creativity work together for a better, faster result.
Ready to create stunning tutorials without all the tedious work? With BeHooked, you can turn your raw footage into a finished video in minutes, letting the AI do the heavy lifting. Start creating smarter by visiting the official BeHooked website today.