Learn Expert Video Editing Tutorial for Stunning Results
Join this video editing tutorial to master AI techniques and create professional videos effortlessly. Click now to start improving your skills!
7 Sept 2025

This guide simplifies your creative process, helping you turn raw footage into something you're proud to share. We'll focus on using smarter, AI-powered tools that take care of the heavy lifting. This lets you put your energy into telling a great story instead of getting lost in technical settings.
Think of this as your starting point for making polished, engaging videos, but faster.
A Fresh Approach to Creating Amazing Videos
Remember the days of wrestling with clunky timelines and confusing software? Thankfully, that's becoming a thing of the past. Video editing has evolved from a purely technical skill into a far more creative and accessible process.
The real goal isn't just to master complicated software; it's to tell a story that connects with people. The right tools make that possible for anyone. This new approach breaks down the frustrating barriers that once stood between a great idea and a finished video.
We're here to walk you through a more intuitive method. You'll see how AI-powered features are changing the game, letting you get professional-looking results without the steep learning curve. You can focus on the narrative and pacing while intelligent tools handle the tedious work.
This shift is a huge deal, especially in rapidly growing digital economies. For example, the premium video production and editing market in India is currently valued at around USD 1.7 billion and is projected to nearly double by 2028. Innovative software that uses AI saves Indian creators roughly 200 hours a year. You can read more about the latest trends for video production in India to see how fast the industry is changing.
Getting to Know Your Creative Hub
Before we jump into editing, let's get you comfortable with the main dashboard. This is your command centre, the place where every project begins. A well-organised workspace means you can find your files, start new projects, and access key tools without any friction.
Here's a peek at the BeHooked dashboard—your starting point for every video.
The clean layout gives you immediate access to all your existing projects and the option to start a new one, which really helps streamline your workflow right from the get-go.
The Core Concepts to Keep in Mind
To get the most out of this guide, it helps to understand a few key ideas. These aren't technical rules but creative principles that will make your videos far more effective.
Story First: Always remember that every single edit should serve the story. Before you make a cut or add an effect, ask yourself: does this help communicate my message?
Pacing and Rhythm: The length of your clips and the speed of your cuts create a rhythm. Quick cuts can build excitement, while longer shots can create calm.
Visual Cohesion: Your video should feel like a single, unified piece. This comes down to maintaining consistent colour, branding, and style from start to finish.
Keeping these concepts in mind will help you make better creative decisions. This guide will show you exactly how to apply these principles using intuitive, powerful tools.
Assembling Your First Video Project
Alright, this is where the fun really starts. We’re moving from theory to actually making something—taking that jumble of raw footage and piecing together the first draft of your story. This initial assembly is all about laying down the narrative foundation.
Every creator knows that feeling of staring at a blank timeline. The trick is to just start. Don't aim for perfection right away; just focus on getting your main ideas in the right order.
To keep things practical, let's work through a common scenario: editing a short 'get ready with me' (GRWM) vlog. This kind of video is fantastic for learning the ropes because it has a straightforward structure that’s easy to build on.
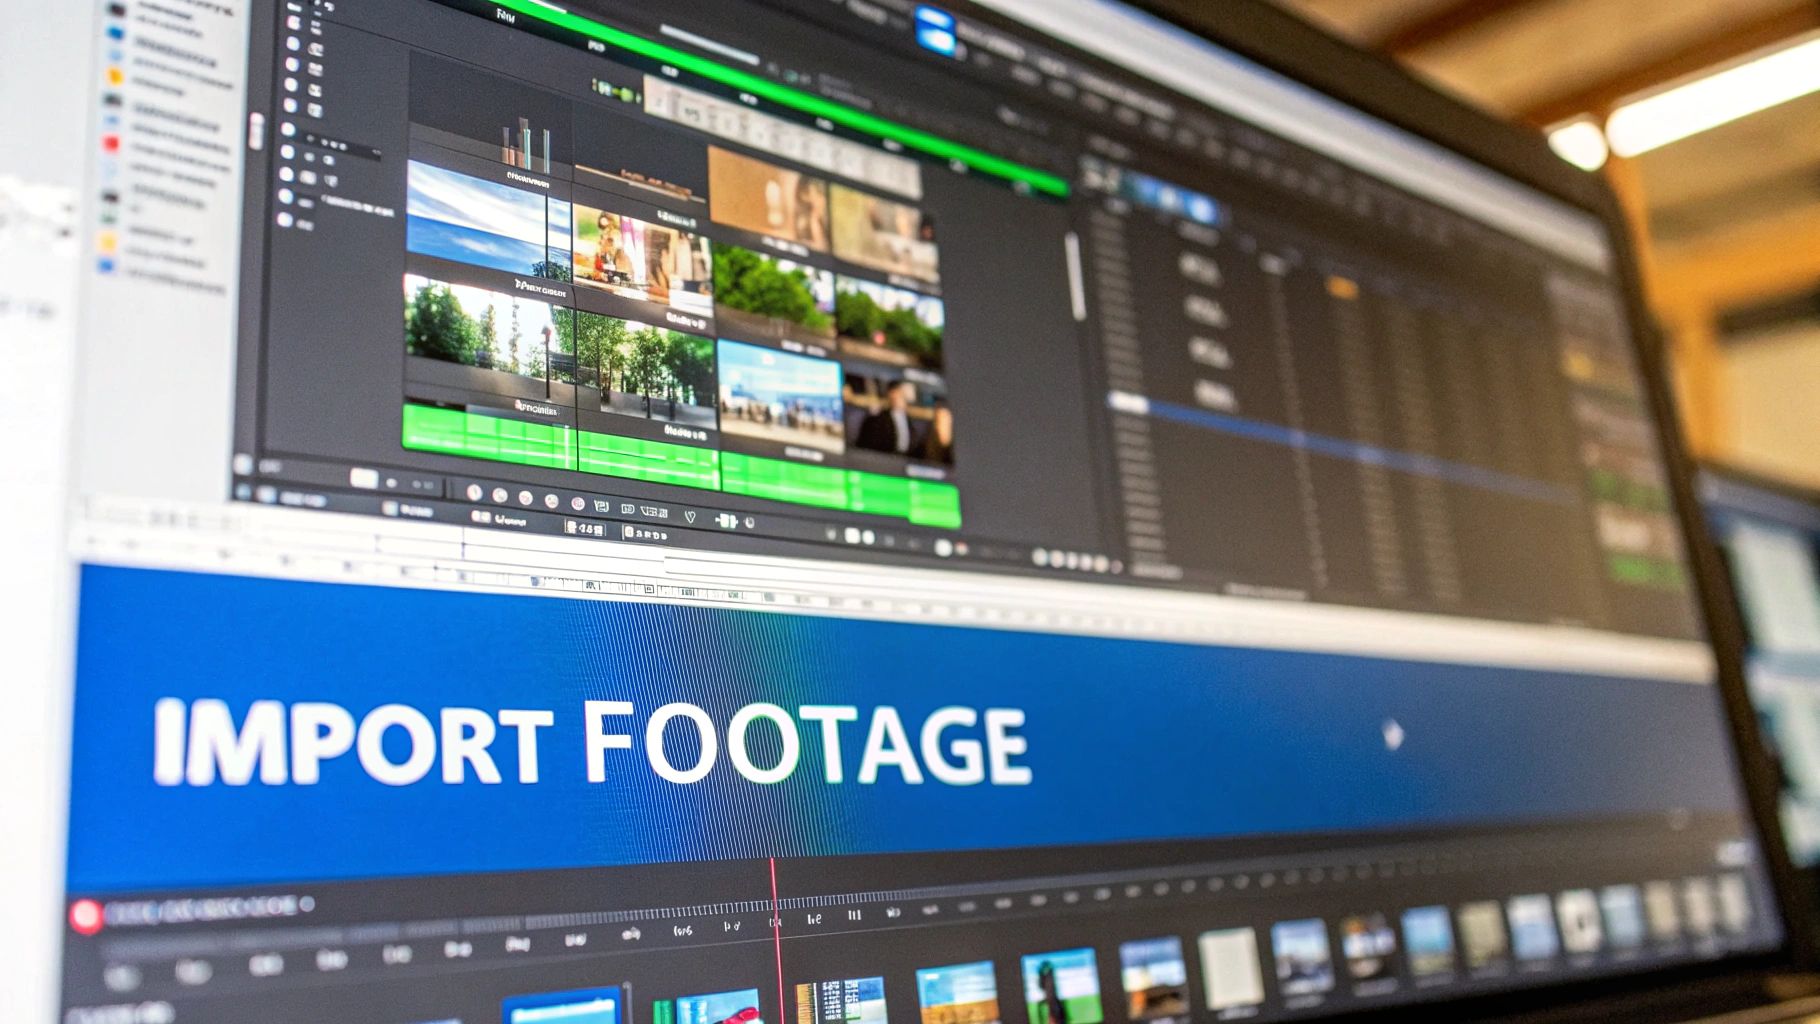
Uploading and Organising Your Footage
First things first, you can't edit what isn't in the editor. Getting your raw clips into BeHooked is your starting point, and a little organisation here will save you a massive headache later. It's like prepping your ingredients before you start cooking.
Jump in by creating a new project. Give it a clear name you'll remember, like "GRWM Makeup Tutorial." From there, just upload all the video files you shot for the vlog. Because BeHooked processes everything in the cloud, you don’t have to worry about your computer slowing down.
This simple bit of housekeeping has a huge impact on your workflow, making it easier to find the perfect shot when you're in the zone.
Building Your Story on the Timeline
With your clips ready to go, it’s time to start building your narrative. This is the heart and soul of video editing. Your mission is to arrange the clips on the timeline to tell a story that makes sense and feels natural.
For our GRWM vlog, the sequence is pretty clear: start with the intro, move to skincare prep, then the makeup application, and wrap it up with the final look. Simply drag and drop your clips onto the timeline in that order. This initial, rough arrangement is often called an "assembly cut."
Don't get bogged down with perfect timing just yet. The only goal here is to get the story's sequence right. We'll fine-tune the pacing in the next step. If you’re still exploring your options, our guide on the top video editing software for beginners is a great resource.
The Art of Trimming and Splicing
Now that your clips are in order, you can start the cleanup. Trimming is all about snipping off the unwanted bits from the beginning or end of a clip. Think of that moment before you start talking or that awkward pause after you finish a sentence.
In your GRWM vlog, you might trim the start of a clip where you’re fiddling with the camera. These small cuts instantly make your video feel tighter and more professional.
A great edit isn't about what you add; it's about what you take away. The most impactful videos are often the ones that have been ruthlessly trimmed to keep only the essential moments, ensuring the viewer's attention never wavers.
As you trim, your clips will naturally start to fit together more snugly. The act of joining these trimmed clips is called splicing, and the aim is to create transitions so smooth that your audience barely notices the cut.
Here's what the BeHooked timeline looks like, where you can see your clips laid out and ready for trimming.
The visual layout makes it incredibly intuitive to see where clips begin and end, which helps you make precise, clean cuts.
Mastering these basic skills is more important than ever. The demand for great video is exploding. The Indian video production market hit about USD 5.2 billion in 2023 and is on track to soar past USD 71 billion by 2030. That's a powerful indicator of how central video has become.
Using AI Features to Enhance Your Story
Once you've got the basic skeleton of your video assembled, it's time to add the polish that makes your story pop. This is where we move beyond simple cuts and start layering in the elements that create a professional, engaging experience.
Thanks to AI-powered tools, what used to take hours of tedious work can now be done with just a few clicks. This frees you up to focus on the creative side of things. Let's dig into how you can use these tools to take your video to the next level.
Instantly Generate Accurate Subtitles
Let's be honest: subtitles aren't optional anymore. They're absolutely essential. With so many people watching videos on social media with the sound off, captions are your first and best shot at grabbing their attention.
This is where AI is a real lifesaver. With BeHooked, you can generate accurate, perfectly timed subtitles for your entire video with a single click. The AI listens to your audio, transcribes it, and syncs the text to your timeline automatically.
Here’s a look at the AI tools panel where the magic happens.
Of course, you still have full creative control. You can easily tweak the font, size, colour, and placement to make sure the captions perfectly match your brand's style. For anyone serious about maximising their reach, this feature is a non-negotiable.
Effortless Audio Cleanup
Crisp, clean audio is the unsung hero of great video content. Viewers will forgive shaky camera work long before they tolerate bad sound. Annoying background noise or jarring volume shifts are the fastest way to get someone to scroll away.
Now, AI can tackle the most common audio problems for you. BeHooked has a couple of smart tools that make a world of difference:
Silence Removal: The AI automatically finds and snips out those long, awkward pauses. This tightens up the pacing and makes your delivery sound much more polished.
Noise Reduction: With one click, you can get rid of that persistent hum from your air conditioner or computer fan. It makes your voice come through with total clarity.
These quick fixes ensure your audience can actually focus on what you're saying, building trust and keeping them hooked.
Key AI Features and Their Impact
To give you a clearer picture, this table breaks down the main AI tools we're discussing. It shows you what each feature does and, more importantly, how it helps you as a creator.
AI Feature | Primary Function | Creator Benefit |
|---|---|---|
Auto-Subtitles | Transcribes audio and generates time-synced captions. | Saves hours of manual work and makes content accessible to a wider audience. |
Silence Removal | Detects and cuts out long, silent pauses from the audio track. | Improves video pacing and makes the speaker sound more professional and confident. |
Noise Reduction | Identifies and removes unwanted background noise like hums or fans. | Results in cleaner, clearer audio that keeps viewers focused on the message. |
AI B-Roll | Analyses the script and suggests relevant stock footage clips. | Adds visual variety and production value without the time and cost of sourcing clips. |
Having these tools at your fingertips really does change the game, turning what used to be expert-level tasks into simple, one-click actions.
Visually Enhance with AI B-Roll
Nothing breaks up a long talking-head shot better than good B-roll. It’s the extra footage that adds context and keeps things visually interesting. The problem? Finding quality, relevant B-roll is a huge time-sink.
This is another spot where AI comes to the rescue. BeHooked's AI B-roll feature actually reads your script, understands the context, and suggests relevant clips to drop into your timeline.
The right B-roll does more than just fill space—it adds depth and emotion to your story. By visually illustrating your words, you create a more immersive experience that helps your audience connect with your message on a deeper level.
You get to review all the AI's suggestions, pick the ones you love, and pop them right in. It’s like having a research assistant with access to a massive library of professional stock footage.
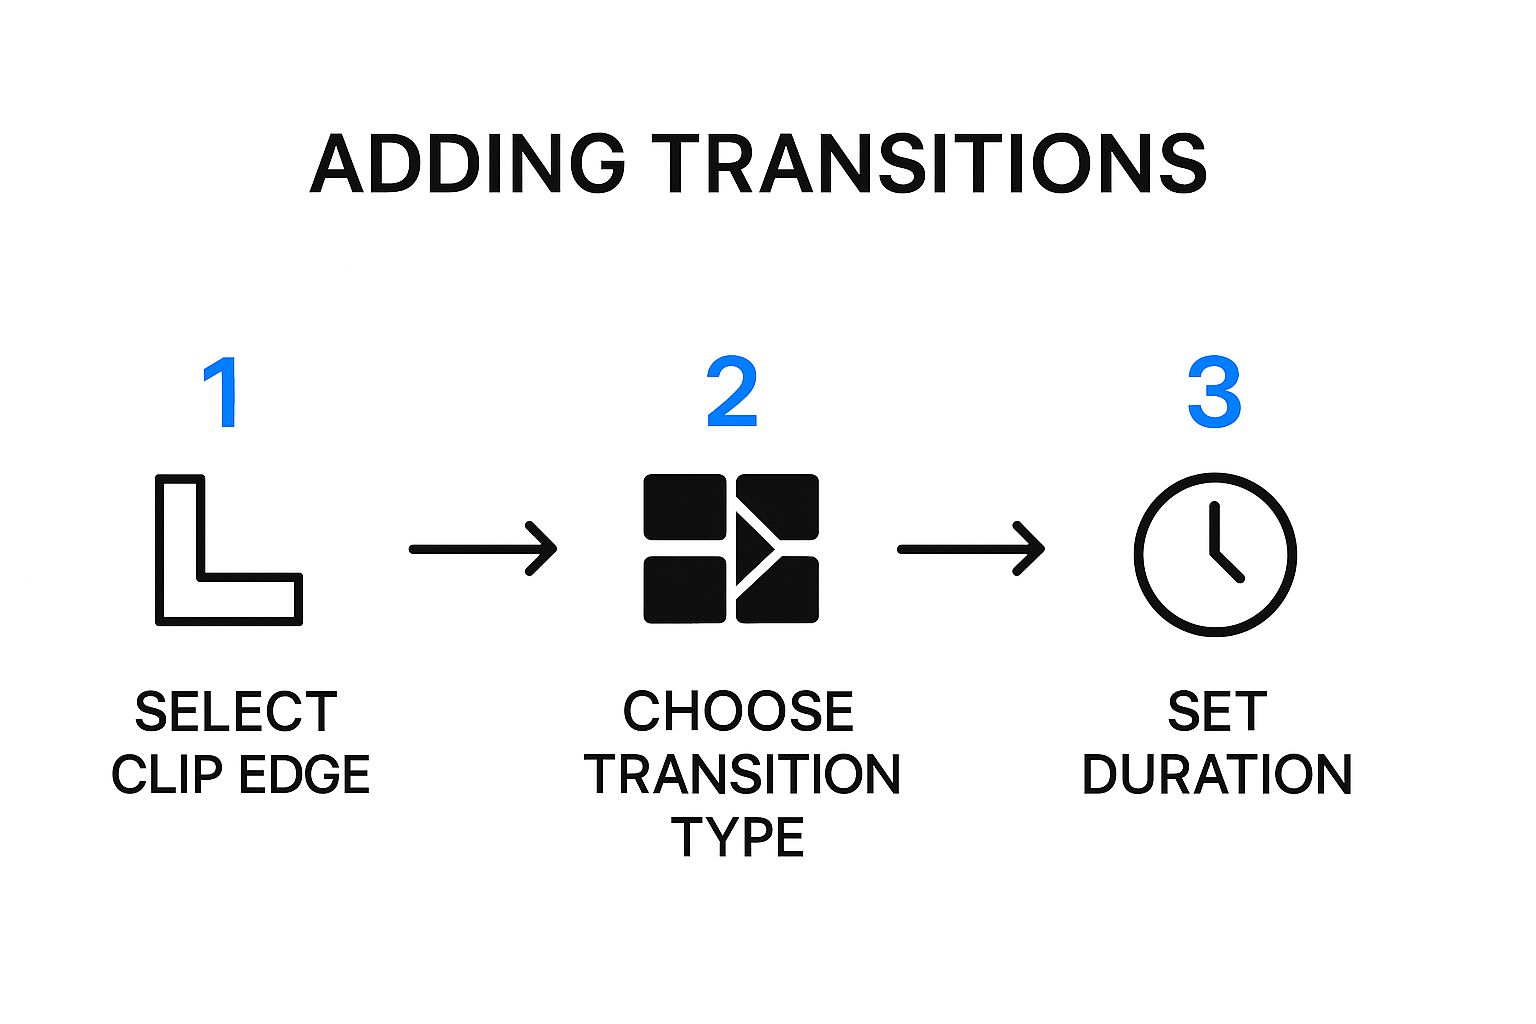
Smooth Transitions for a Seamless Flow
Think of transitions as the punctuation between your scenes. While a straight cut is often your best bet, a well-placed fade or dissolve can guide the viewer smoothly from one idea to the next. The key is to be subtle.
As you explore these creative enhancements, it's also worth noting how other AI-driven tools can broaden your content's impact. For instance, understanding how AI translation features work can open your videos up to a global audience.
Adding Your Unique Brand Identity
Alright, you've used AI to polish your story. Now it’s time to add your personal touch. This is where you layer in your brand's unique style. Consistent branding isn't just about looking good; it's about building a recognisable presence.
Stamping your unique style on every video creates a cohesive and professional experience. It's the difference between a generic piece of content and something that's unmistakably yours.
Stamping Your Videos with a Custom Logo
Think of your logo as your visual signature. Placing it consistently in your videos is a simple but incredibly powerful way to build brand recognition. It’s your digital watermark, constantly reminding people who’s behind the content.
Getting your logo into BeHooked is a breeze. Just upload your image file and pop it in a corner where it's visible but not distracting—the top-right or bottom-left usually works best. It's a small detail that makes a huge difference.
Of course, having a great logo to start with is key. It's worth learning how to choose a logo for your YouTube channel to make sure it truly represents your brand.
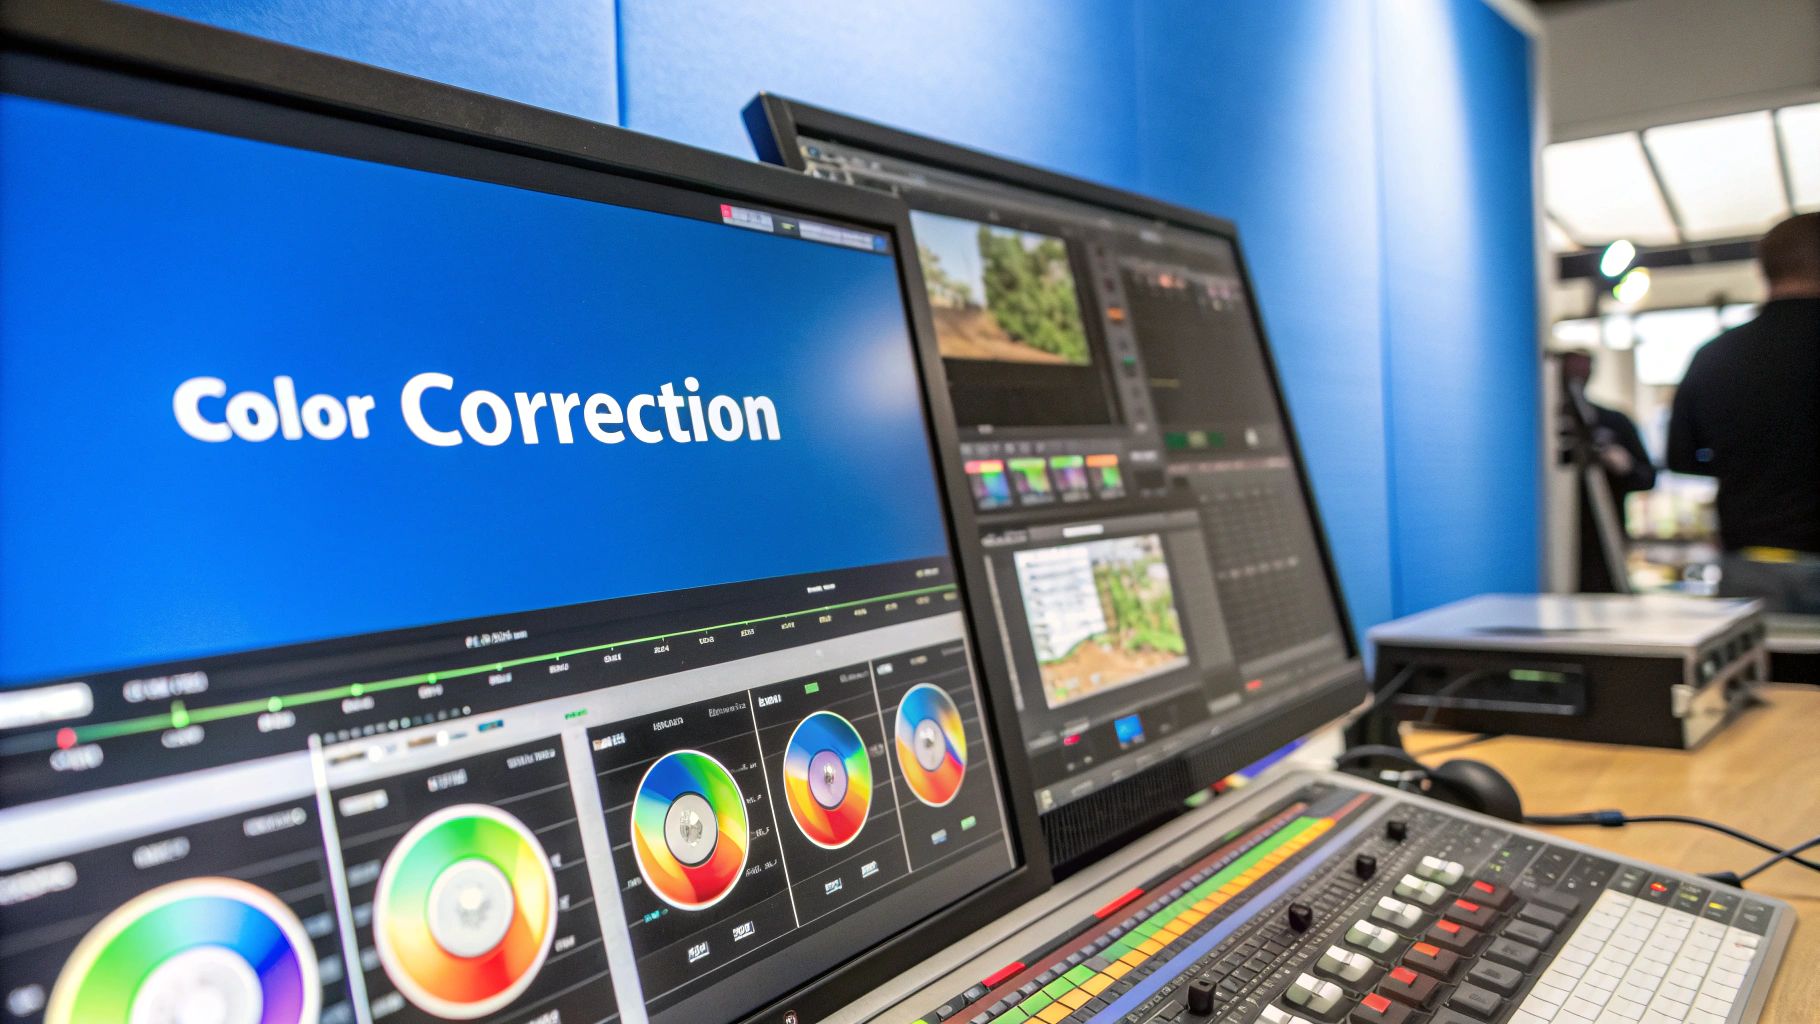
Creating a Cohesive Look with Brand Colours
Colours do more than just look pretty—they evoke emotion and create a consistent feel. Applying your brand's specific colour palette to things like text, graphics, and backgrounds ties everything together.
Stick to a primary and secondary colour scheme from your brand guidelines. You can weave these colours into:
Text Overlays: Make your titles and key points stand out while matching your brand's vibe.
Backgrounds: A solid brand colour for an intro or outro screen looks incredibly sharp.
Graphic Elements: Any icons or shapes you add should feel like they belong.
This level of detail creates a polished, unified experience that reinforces your brand identity with every video you publish.
Brand consistency isn't just about aesthetics; it's about building trust. When viewers see the same colours, fonts, and logos across all your videos, they develop a sense of familiarity and reliability, making them more likely to engage with your content.
This is a cornerstone of effective video marketing. By sticking to a consistent visual language, you communicate professionalism. We explore this in our article on 5 ways AI enhances personal branding.
Professional Text Overlays for Titles and Key Points
Well-designed text overlays are vital for highlighting key information and keeping your audience locked in. You can use them for main titles, lower thirds, or callouts that emphasise important takeaways.
When creating these overlays, readability and style are your top priorities. Pick a clean, legible font that aligns with your brand’s personality. BeHooked gives you intuitive tools to add and customise text easily.
Just remember to keep the text short and sweet. The goal is to support what you’re saying, not plaster a wall of text on the screen.
Crafting Custom Intros that Grab Attention
Those first few seconds of your video are everything. A custom intro is your chance to make a strong first impression and set the tone. A great intro should be short, punchy, and immediately tell people what your brand is all about.
You don't need a complex animation. A simple intro can be made by combining your logo, a quick tagline, and a snippet of branded music. This acts as a familiar "hello" to your subscribers and a clear introduction for new viewers.
Putting the Finishing Touches on Your Video
Alright, your video is almost ready for its debut. The last hurdle is exporting it and getting it prepped for sharing. This part is just as important as the editing itself because it guarantees your video looks sharp and professional everywhere.
Let's break down the export process. It's really just about picking the right settings for where you plan to post your video, whether that's YouTube, Instagram, or TikTok.
Choosing the Best Export Settings
Before your video can be shared, it needs to be "rendered" into its final file. This involves picking the right resolution, frame rate, and format. BeHooked makes it easy with presets optimised for popular platforms.
For most online content, here are some solid settings to start with:
Resolution: Stick with 1080p (1920x1080). It's the standard for high-definition video. For Instagram Reels or TikTok, you'll want a vertical resolution like 1080x1920.
Frame Rate: A frame rate of 24 or 30 frames per second (fps) will give your video a smooth, cinematic feel.
Format: MP4 is your best friend here. It offers a fantastic balance of high quality and manageable file size.
Here's a peek at what the export settings look like in BeHooked. Notice how clean and simple the options are. The layout is designed to be straightforward. You can just pick a preset for the platform you're using, which takes all the guesswork out of the equation.
Getting Aspect Ratios Right for Every Platform
The aspect ratio is just a fancy term for the shape of your video. If the shape of your video doesn't match the platform's preferred shape, you end up with awkward black bars. This is a huge deal, especially since most people now watch videos on their phones.
The demand for mobile-first content is blowing up. In India, the mobile video editing market is expected to jump from USD 0.12 billion in 2024 to USD 0.29 billion by 2033. This trend highlights how crucial it is to make content look amazing on a vertical screen. You can read more about the growth of mobile video editing in India.
Your video's aspect ratio has a massive impact on how people experience it. Getting it right for each platform isn’t just a technical box to tick—it’s a creative choice that makes sure your story is told exactly how you envisioned it.
The Final Quality Check
Before you hit that final export button, give it one last look. I always recommend watching the entire video through with fresh eyes. You'd be surprised what you catch—a small typo, an audio glitch, or a cut that feels off. This final check can save you a headache later.
Publishing high-quality, perfectly optimised content is how you build a real connection with your audience. To dive deeper, look at our guide on why video content boosts brand engagement fast. Now, go show everyone what you’ve created.
Conclusion
You've made it through the entire process! From a folder of raw footage to a polished video ready for the world, you now have the skills to create content that truly connects with people. We've walked through how AI can take the technical work off your plate, leaving you free to focus on what really matters: your story.
The secret to getting better from here is practice. Keep making videos, play around with the tools we've covered, and start to build a style that’s all your own. Think of every project as a chance to sharpen your storytelling skills.
You have everything you need to make videos that don’t just look good, but feel human and connect with your audience. The tech is just the tool; your voice and ideas are what will make your content stand out. The aim isn't just to churn out videos—it's about building a community. You’re ready to do just that.
To keep your momentum going, check out our guide on how to create tutorial videos for more specialised tips. Lean into the process, trust your gut, and start sharing what you have to say. Let's see what you create.
FAQ
How long does it really take to get the hang of AI video editing? Honestly, it's way faster than traditional software. Most people can create their first polished-looking video in just a couple of hours. Since the AI handles tedious tasks like subtitles and audio cleanup, you can focus on being creative from day one.
For a total beginner, what's the one skill I should focus on? Storytelling. It's all about knowing how to pace your video, where to place your cuts, and how to sequence your clips to make someone feel something. The tools are there to help bring that vision to life, but a great story is always at the heart of a great video.
Can I edit high-quality 4K videos with this? Absolutely. Modern online editors are designed to handle heavy, high-resolution files, including 4K. You can upload, edit, and export your videos in crystal-clear quality so they look incredible on any screen, all without slowing down your computer.