How to Record YouTube Videos A Creator's Guide
Learn how to record YouTube videos with our complete guide. Discover the right gear, software, and on-camera techniques to create amazing content.
27 Oct 2025

Getting started on YouTube can feel overwhelming, but it doesn't have to be. The real secret to learning how to record YouTube videos that people actually want to watch isn't about fancy gear. It’s about having a solid plan before you even think about hitting 'record'.
This prep work is your roadmap. It guides you toward creating content that feels professional and truly connects with your audience.
Your Foundation for Great YouTube Videos
The YouTube channels that really take off aren't built on luck; they're built on a clear strategy. Before you get lost in camera specs and editing software, you need to nail down what your channel is all about and who you're making videos for.
This planning stage gives every video a clear purpose, which makes the whole recording process a lot smoother. A huge part of that foundation is a killer introduction. Think about crafting a professional intro for your YouTube channel to grab viewers right from the start. That initial hook is everything.
Find Your Niche
Your niche is your channel's specific focus. Finding the right one is about striking a balance between what you love and what people are actually looking for on YouTube.
A sharp, well-defined niche is magnetic. It pulls in a dedicated community of subscribers who are genuinely invested in what you have to say.
What could you talk about for hours? Genuine passion is the fuel for great content. Once you have an idea, see if there's an audience for it. Use tools like Google Trends or just spend time on YouTube to see what's popular in that space.
For example, instead of a generic "cooking" channel, you could zero in on "30-minute vegan meals for busy professionals." See the difference?
Brainstorm Engaging Video Ideas
With your niche locked in, it's time to dream up video ideas your audience will love. Your job is to solve their problems, answer their burning questions, or simply entertain them.
Here are a few proven ways to get the ideas flowing:
Answer Common Questions: What do people always ask about in your niche? Make videos that give them the best, clearest answers.
Tutorials and How-Tos: Step-by-step guides are YouTube gold. Think about a skill you have that you can teach to others.
Reviews and Comparisons: People love honest reviews before they buy something. Whether it's a product, software, or service, your opinion can help them make better decisions.
Behind-the-Scenes Content: Give your audience a peek behind the curtain. A "day in the life" or a look at your creative process can build a much stronger, more personal connection.
I see so many new creators fall into the trap of trying to please everyone. Your real power is in being specific. You'll build a loyal community much faster by creating content for a defined group than by making generic videos for the masses.
Structure Your Content with an Outline or Script
Going off-the-cuff can be fun, but a good plan is what separates a rambling video from a clear, impactful one. Even a simple outline can make a world of difference.
Scripting doesn't mean you have to sound like a robot. Think of it as a safety net that keeps your message sharp and concise.
A solid video structure usually has three parts:
The Hook: You've got about 10-15 seconds to convince someone to stick around. Start with a bold claim, a surprising stat, or a quick preview of the end result.
The Core Content: This is the meat of your video where you deliver on your promise. Break it down into easy-to-digest points or steps.
The Call-to-Action (CTA): Don't just end the video! Tell your viewers exactly what to do next, whether that's subscribing, dropping a comment, or watching another one of your videos.
For a more structured approach, our video content creation checklist for beginners can help you map everything out. This planning stage is truly your best friend for creating videos that not only look good but keep people hooked until the very end.
Building Your First YouTube Recording Kit
Think you need a Hollywood-sized budget to make great YouTube videos? Think again. The truth is, getting started is less about having the most expensive gear and more about being smart with what you've got.
Building your first kit is all about picking the right tools for the job, whether you're planning to vlog, teach, or stream gameplay. It really boils down to three key areas: your camera, your microphone, and your lighting. Each one is a piece of the puzzle, but you can get amazing results even with budget-friendly options that won't give you a technical headache.
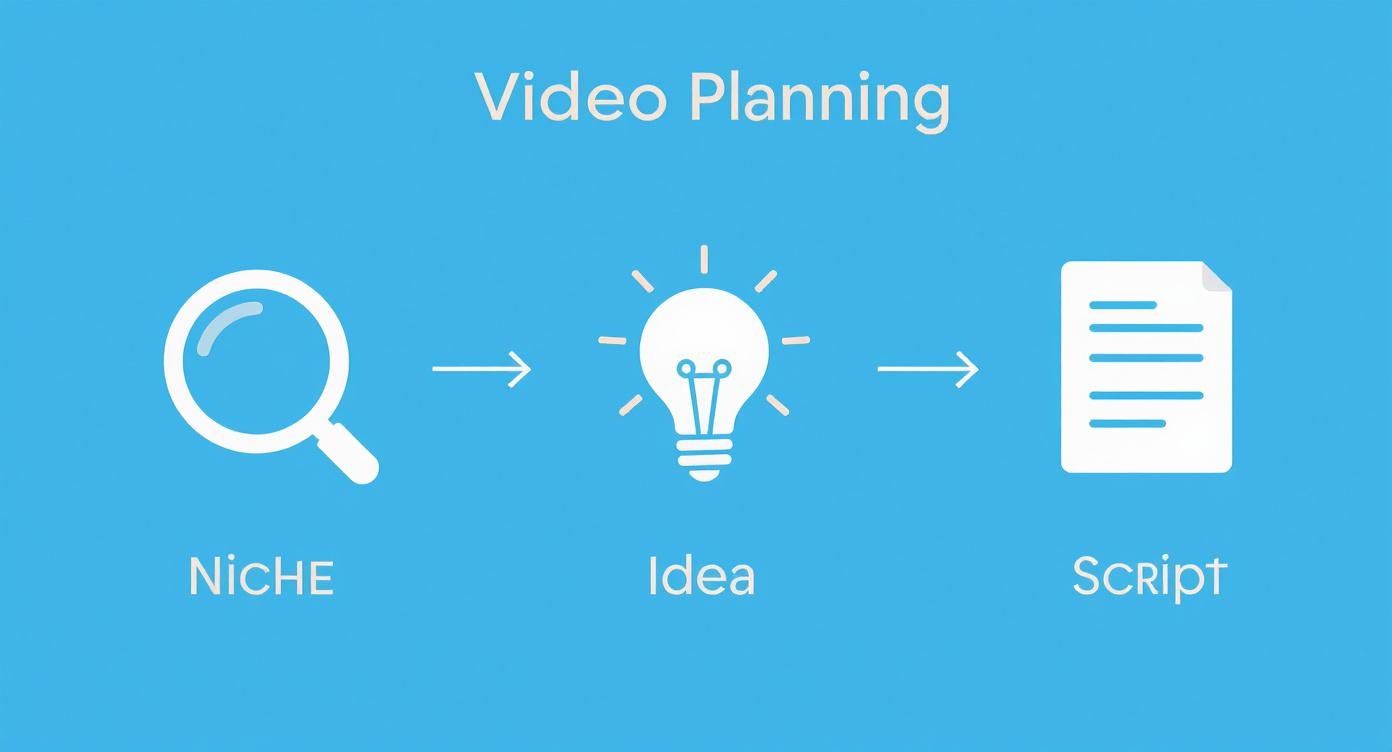
As you can see, figuring out your niche, brainstorming ideas, and scripting are the real foundations of a video that people will want to watch.
Choosing Your Camera
When it comes to cameras, the great news is you probably already have a powerful one in your pocket. Modern smartphones are more than capable of shooting crisp, clear video that looks fantastic on YouTube. The best part? The simplicity. You can shoot, edit, and upload, all from one device.
If you're ready for a bit more creative control, an entry-level DSLR or mirrorless camera is a solid next step. These give you access to interchangeable lenses and handle low-light situations much better. This is how you get that professional-looking blurred background (the bokeh effect) and gain the flexibility to grow as a creator.
Think about the kind of videos you want to make:
For Vlogging: A compact camera with a flip-out screen is a game-changer. Something like the Sony ZV-1 lets you see yourself while you’re recording on the move.
For Tutorials/Talking Heads: A quality webcam like the Logitech C920 or a DSLR locked down on a tripod will give you a stable, professional shot.
For Gaming: Screen recording software is your main tool, but a good webcam is crucial for capturing your reactions and connecting with your audience.
The Secret to Professional Videos Is Audio
Here’s a hard truth: viewers will forgive slightly grainy video, but they will click away in a heartbeat if the audio is bad. Your camera’s built-in microphone just isn't cut out for the job.
It’s designed to pick up sound from every direction, which means you get a ton of echo and unwanted background noise. Investing in a separate microphone is genuinely the single biggest upgrade you can make to your production quality.
Great audio isn't just a technical detail; it's a sign of respect for your audience's time. Clear sound makes your message easier to understand and keeps viewers engaged, while poor audio creates an immediate barrier.
This is especially true for educational content. For example, about 71% of Indian viewers use YouTube to learn new skills, making clear audio non-negotiable for effective teaching. According to insights on Grabon.in, this trend shows just how vital the platform has become for skill development.
Here are a few popular and effective microphone types:
Lavalier (Lapel) Mics: These tiny mics clip right onto your shirt, ensuring they stay close to your mouth for clear, consistent dialogue. They’re perfect for interviews or any talking-head style video.
USB Microphones: If you’re recording at a desk for voiceovers or streams, a USB mic like the Blue Yeti is a fantastic plug-and-play option that delivers excellent quality.
Shotgun Mics: These mics mount directly onto your camera. They’re designed to capture sound from whatever you’re pointing at, which helps reduce noise from the sides and back.
Starter YouTube Recording Equipment Comparison
Equipment Type | Budget Option (e.g., Smartphone) | Mid-Range Option (e.g., Entry-Level DSLR) | Key Feature |
|---|---|---|---|
Camera | Your existing smartphone | Canon EOS M50 or Sony ZV-E10 | Control: DSLRs offer manual settings and lens options. |
Microphone | Lavalier Mic (e.g., Boya BY-M1) | USB Mic (e.g., Blue Yeti) | Clarity: External mics eliminate room noise and echo. |
Lighting | Natural light from a window | LED Ring Light (18-inch) | Consistency: Artificial light gives you full control. |
Tripod | Small, flexible phone tripod | Full-size adjustable tripod | Stability: A sturdy tripod prevents shaky footage. |
Ultimately, the best choice is the one that fits your content style and doesn't break the bank. Start simple, learn the basics, and you can always upgrade your gear as your channel grows.
Illuminate Your Content with Good Lighting
Good lighting is what separates an amateur-looking video from a professional one. But you don't need a complex studio setup to get it right. The main goal is to create soft, even light that gets rid of any harsh shadows on your face.
Your cheapest and best light source is a big window. Filming while facing natural light can give you a beautiful, flattering look. The only problem? It’s inconsistent and disappears at night. For more control, a simple three-point lighting setup is the industry standard, but you can start with just one or two lights.
A ring light is a popular and affordable choice for beginners. It provides that even, soft light and creates a pleasing catchlight in your eyes. To get a deeper understanding of how to make your shots look incredible, check out our guide on the best lighting setup for video recording. It’ll help you put together a budget-friendly kit that truly makes your videos shine.
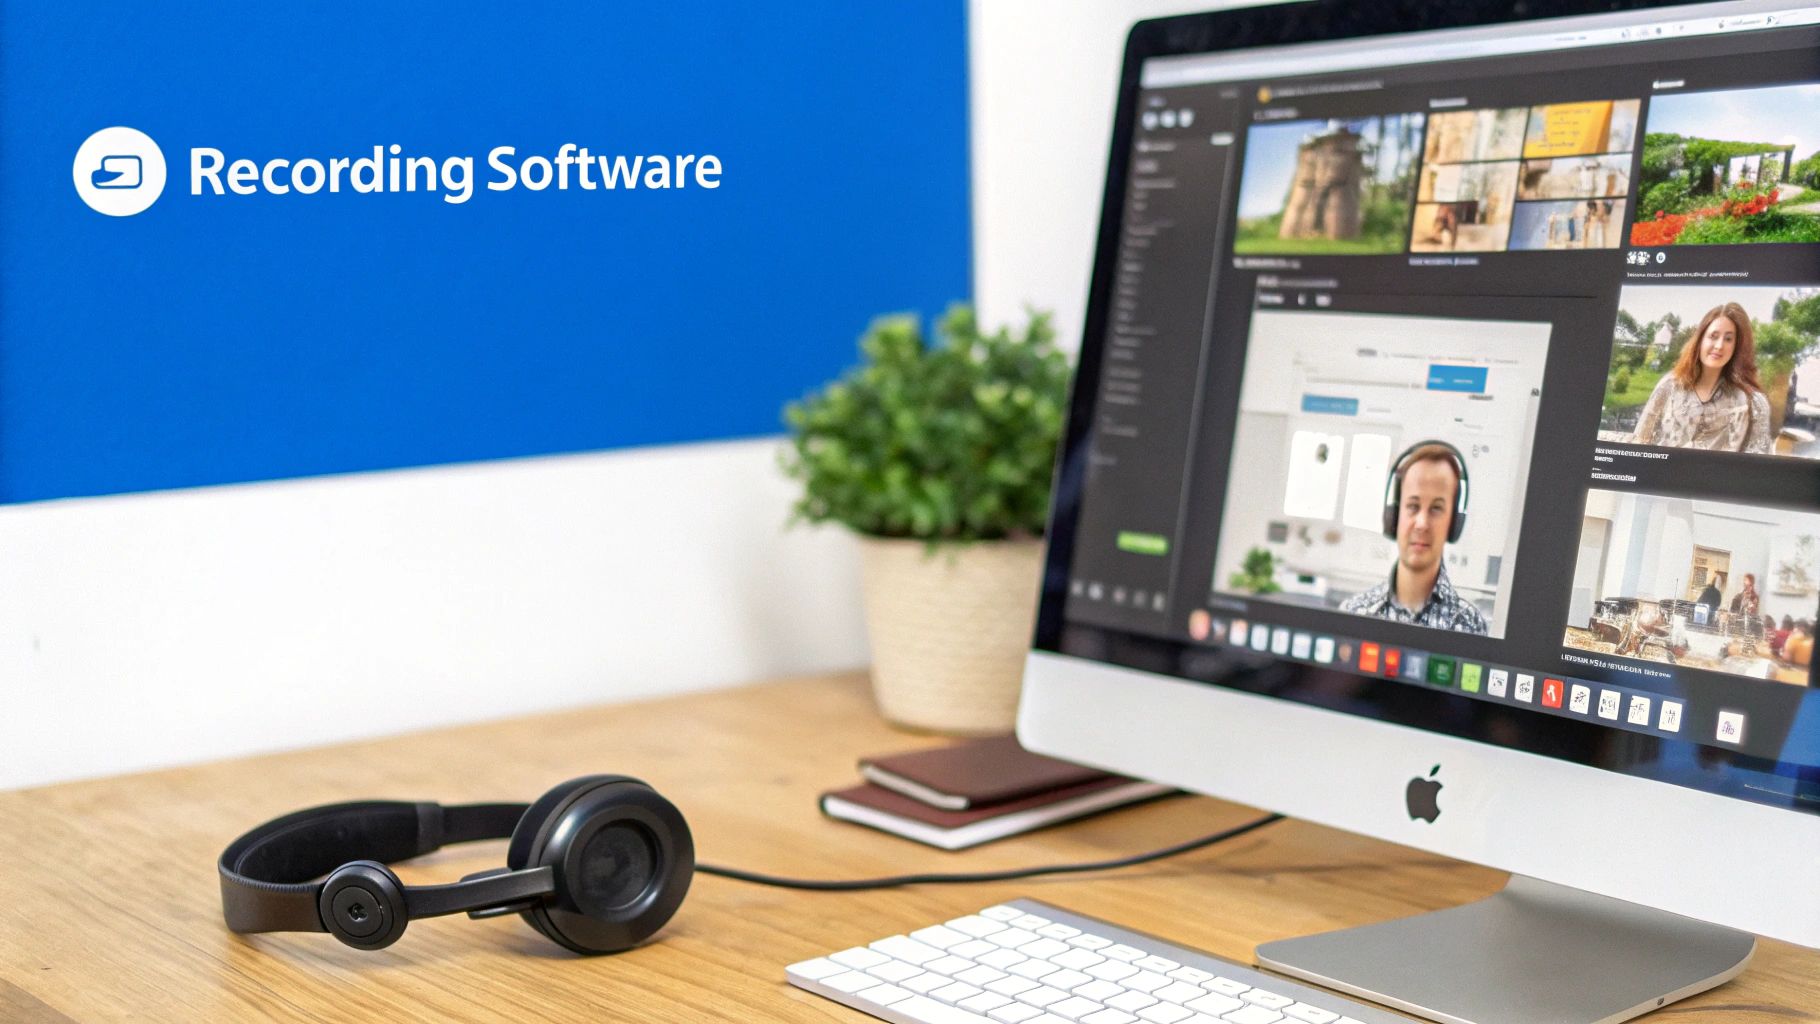
Choosing the Right Recording Software
Once your camera and microphone are sorted, the next big piece of the puzzle is the software you'll use to capture everything. Think of it as the command centre for your entire video operation.
It’s the bridge between your gear and the final video file, letting you record your screen, webcam, and audio all at once. Getting this right is a huge part of learning how to record YouTube videos that actually look and sound good.
The best tool really comes down to your content style and how tech-savvy you feel. Your choice here will directly affect your workflow, how long you spend editing, and the overall professional sheen of your finished video.
Free and Powerful Options
For a lot of creators, especially when you're just starting out, free software is more than powerful enough. You don't need to spend a penny to get professional results.
The undisputed champion in this area is OBS Studio. It’s an open-source beast used by streamers and YouTubers all over the world because of its incredible flexibility.
With OBS, you can build complex scenes, layering your screen capture, webcam footage, images, and text overlays exactly how you want them. It's perfect for a software tutorial where you need to show your face in a little circle while demonstrating something on the main screen.
Sure, the interface can look a bit intimidating at first, but for a free tool, its power is unmatched.
Here’s a taste of what a tool like OBS lets you do:
Simultaneous Capture: Record your screen and your webcam feed at the same time, but on separate tracks. This is a lifesaver in editing.
Custom Layouts: Arrange everything on screen just so. You can shrink your webcam feed, pop in a branded background, or add text and graphics on the fly.
Audio Mixing: Easily manage different audio inputs, like your fancy microphone and the game audio from your desktop, to get a clean, balanced mix.
Don't let the complex look of OBS scare you off. Seriously. Spend just one hour watching a beginner's tutorial on YouTube, and you'll unlock all the basic functions you need for a pro-level recording setup. It's a small time investment that pays off big time, and it costs you nothing.
It's also worth remembering that your computer already has some basic recording tools built-in. Windows has the Xbox Game Bar, and macOS has QuickTime Player. These are fine for quick captures but lack the advanced features for polished YouTube content.
User-Friendly Paid Software
If you'd rather have a smoother learning curve and built-in editing features, then investing in paid software might be the way to go. These tools are designed from the ground up to be intuitive, often combining recording and editing into a single, seamless package. That integration can save you a ton of time.
Camtasia is a massive favourite in this space, especially for creating polished tutorials. Its recorder is dead simple, and the editor is packed with helpful features like annotations, callouts, and cursor effects that make it easy to guide your viewer's attention.
Another fantastic option is Filmora. It strikes a really nice balance between being easy to use and having powerful features. While many think of it as just a video editor, its screen recording is top-notch, letting you capture your webcam and screen together. Filmora is a great all-in-one solution for creators who want to handle both recording and more creative editing.
Software | Best For | Key Strength | Learning Curve |
|---|---|---|---|
OBS Studio | Streaming & Complex Setups | Unmatched flexibility and free | Steep |
Camtasia | Tutorials & Educational Content | Integrated recording and editing | Low |
Filmora | All-in-One Content Creation | Ease of use and creative effects | Low-Medium |
Picking the right software is a big deal. To help you find that perfect fit, we've put together a detailed breakdown of the best video creation software in our complete guide.
Configuring Your Software for Success
No matter which program you end up with, setting it up correctly is what separates amateur footage from a professional-looking video. You're aiming for a crisp, clear recording that looks fantastic on YouTube.
The platform loves high-definition video, so you should be recording at a resolution of at least 1080p (1920x1080 pixels). If your computer and camera can handle it, recording in 4K (3840x2160 pixels) is even better.
Keep an eye on your frame rate, too. For most content, 30 frames per second (fps) is the standard and looks great. However, if you’re recording fast-paced gaming or just want that silky-smooth motion, bumping it up to 60 fps is a brilliant move.
Finally, always double-check your audio sources before you hit record. Make sure your software is set to capture your external mic, not the tinny one built into your webcam or laptop. A quick test recording can save you from discovering an hour of footage is unusable.
Mastering Your On-Camera Presence and Technique
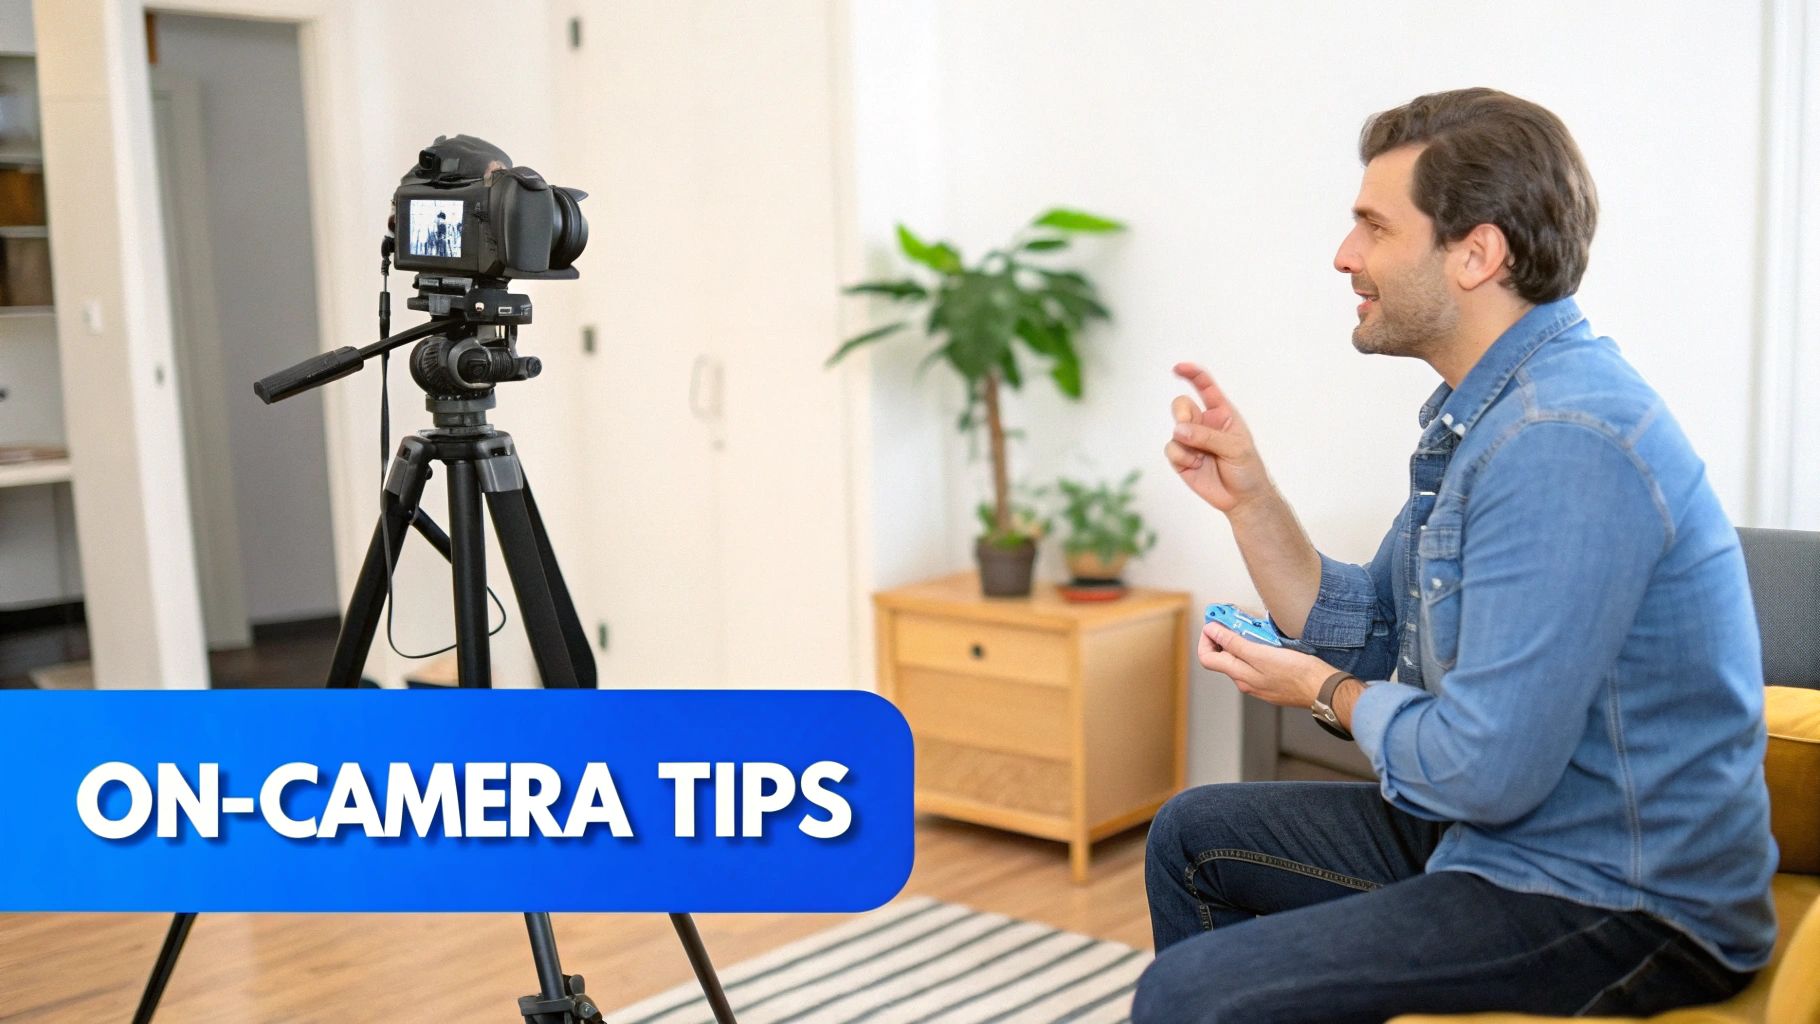
Having all the right gear is a great start, but the real magic happens when you actually connect with your audience. Great content is so much more than a crystal-clear picture. It’s about the energy and confidence you bring to the screen.
Think of your on-camera presence as a muscle. It gets stronger with every video. Forget about being perfect on day one; the real goal is to get comfortable and let your personality shine through.
Connecting Through The Lens
One of the simplest yet most powerful things you can do is make direct eye contact. For a video creator, that means looking straight into the camera lens—not at your monitor. This creates the feeling of a one-on-one conversation with each viewer.
I know it can feel a bit weird at first. Here’s a little trick: stick a small, friendly sticker right next to the lens. It gives you a human-like focal point and makes maintaining that connection so much easier.
Don't forget your body language speaks volumes, too. Sit or stand up straight to project confidence, and let your hands move naturally. This adds a layer of energy and helps emphasise your points. Our guide on how to create professional videos without experience has even more tips to help you out.
Understanding Basic Camera Settings
You don't need a degree in cinematography to get your videos looking good. Just getting a handle on a few basic camera settings will give you massive creative control over the final look and feel.
Here are the key settings to start playing with:
Aperture (f-stop): This controls the amount of light and your depth of field. A lower f-stop number (like f/1.8) lets in more light and creates that lovely blurry background (bokeh).
ISO: Think of this as a digital way to brighten your image. It’s handy in low light, but pushing the ISO too high can introduce a grainy, "noisy" look.
Shutter Speed: For video, a good rule of thumb is to set your shutter speed to double your frame rate. So, if you're shooting at 30fps, a shutter speed of 1/60 will give you a natural-looking motion blur.
Getting comfortable with manual camera settings is a total game-changer. It’s the difference between letting your camera guess what looks good and telling it exactly what you want. Start by tweaking just one setting at a time to really see how it impacts your shot.
Getting this right is more important than ever. In India, for example, YouTube's growth has been staggering. The platform is projected to have around 491 million users in India by 2025. These users are hungry for quality content, spending an average of 72 minutes on the platform daily, as noted in this Times of India article.
Composing Visually Appealing Shots
How you frame yourself can instantly make your video look more professional. One of the first principles you learn is the rule of thirds. Imagine your screen has a 3x3 grid. Instead of plopping yourself right in the centre, try positioning yourself along one of the vertical lines.
This simple shift creates a more balanced and visually interesting composition. It also leaves you some prime real estate for adding on-screen text or graphics later.
Your background matters just as much. A cluttered, distracting background will pull your viewer's attention away. You don’t need a fancy studio—a clean, organised space is perfect. Add a plant or some subtle lighting to give the shot a bit of depth and personality.
Your Next Steps as a YouTube Creator
Making great YouTube videos is a mix of solid planning, the right tech, and your own creativity. We've walked through everything from brainstorming ideas to getting comfortable on camera. If there's one thing to take away, it's this: just keep learning and stay consistent.
Start with the equipment you already have. Your main focus should be on giving your audience something valuable. The most successful YouTubers didn’t start with a Hollywood-level studio; they just started. Think of this guide as your starting point, find a style that feels like you, and most importantly, have a good time with it.
Evolving Your Creator Workflow
As your channel picks up steam, your ambitions will grow right along with it. This is the perfect moment to look into tools that can help you work smarter, not harder.
Exploring advanced solutions, like AI tools designed for content creators, can make a huge difference in your workflow and the quality of your videos as you grow.
The biggest thing holding new creators back isn't a lack of fancy gear—it's the fear of not being perfect. Your first ten videos probably won't be your best, but they are your most important. They are where you learn, grow, and find your voice.
This creative journey can also open up some serious financial doors. For creators in India, YouTube has become a viable career path, with potential earnings from INR 50 to INR 200 for every 1,000 views. The creator economy is a massive and growing part of India's GDP.
Eventually, you'll want to turn all those views into actual income. When you're ready, our guide on how to monetise your YouTube channel breaks down all the requirements and best strategies.
Conclusion
Learning how to record YouTube videos is a journey, not a destination. It combines thoughtful planning, the right equipment, and authentic on-camera presence. The key is to start with what you have and focus on delivering value to your audience. Don't let the pursuit of perfection stop you from hitting record. Your first videos are a crucial part of finding your voice and building your community. Embrace the process, stay consistent, and most importantly, have fun creating content you're passionate about.
Frequently Asked Questions
1. What's the best and cheapest way to start recording YouTube videos?
The best way to start is with the smartphone you already own. Modern phone cameras are fantastic for shooting high-quality video. For clear audio, purchase an inexpensive lavalier microphone that plugs directly into your phone. Finally, use a window for natural light. This simple, low-cost setup allows you to focus all your energy on creating excellent content.
2. How do I get good audio quality in my videos?
Good audio is essential. Viewers will tolerate imperfect video but will quickly leave if the sound is poor. Never use your camera's built-in microphone. Instead, invest in an external mic. A lavalier (lapel) mic is great for talking-head videos, while a USB microphone is perfect for voiceovers at a desk. Also, record in a quiet room with soft furnishings like carpets or curtains to minimize echo.
3. How long should my YouTube videos be?
There is no single correct length for a YouTube video. It depends entirely on your topic and audience. However, YouTube's algorithm often favors videos with longer watch times. A good target for many creators is the 8-12 minute range. This signals deeper engagement to the platform and provides more opportunities for ad placements. The most important rule is to make your video as long as it needs to be to deliver value, and no longer.
Ready to create stunning videos without all the complicated editing? BeHooked uses AI to turn your ideas into fully-edited, ready-to-post videos in minutes. From scripts and subtitles to automated editing, it’s the simplest way to produce studio-quality content. Start creating with BeHooked today!