How to edit videos on iphone: Quick, practical guide
Learn how to edit videos on iphone with a simple, step-by-step guide using Photos, iMovie, and top apps to create polished videos.
25 Oct 2025

Learning how to edit videos on your iPhone is actually quite simple. For quick fixes, the built-in Photos app is your best friend. But when you need to get a bit more creative with multiple clips, titles, and music, Apple's free iMovie app is the way to go.
This two-app approach gives you everything you need. You can create a quick clip for social media or a more polished, story-driven video—all without downloading a single extra thing.
Your First Steps in iPhone Video Editing
Think of your iPhone as a full-blown video studio that fits right in your pocket. The days of being tethered to a desktop computer for every little edit are long gone. Thanks to massive leaps in smartphone camera tech and the explosion of short-form video, mobile editing is no longer just a nice-to-have; it's a core skill.
The market reflects this shift, too. In the Asia-Pacific region alone, the mobile video editing app market was valued at a staggering $1.14 billion USD in 2025. Creators in India have fuelled a huge part of that growth. If you want to dig into the numbers, you can find more market data on datainsightsmarket.com.
This guide is here to walk you through it, starting with the powerful tools you already have.
Getting Started with Native Apps
Before you even think about hitting the App Store, it's worth getting to know the tools Apple has already given you. They’re surprisingly capable and, of course, perfectly integrated with your phone.
The Photos App: This is your spot for quick and easy edits. Think trimming the beginning or end of a clip, or slapping on a simple colour filter. It’s perfect for fast, on-the-fly adjustments.
iMovie: When you need more control, iMovie is your next step. It lets you stitch multiple clips together, drop in some background music, and add professional-looking titles and transitions.
Getting comfortable with these two apps will build a really strong foundation for your editing skills. It's also worth remembering that great editing begins with great footage. Nailing your lighting setup for video recording will save you a ton of headaches later on.
Once you understand what Photos and iMovie can do, you'll be ready to tackle almost any video project that comes your way.
Quick Edits Using the Built-In Photos App
Before you download another app, let's talk about the powerful editor you already have. Your iPhone’s built-in Photos app is surprisingly good for quick fixes that make a huge difference, especially when you want to share a video right away. It's built for speed and simplicity.
Picture this: you just filmed a gorgeous sunset, but the first second is a bit shaky, and the horizon is slightly crooked. These are exactly the kinds of small problems the Photos app was made to fix in seconds.
Trimming and Adjusting Your Clips
The first and most common edit you'll ever make is trimming. This is all about cutting out the junk at the beginning or end of your video—like the awkward moment you're fumbling with the record button.
Just open your video, tap "Edit," and you’ll see a timeline at the bottom. Grab the yellow sliders at either end and drag them inward to tighten up your shot. It’s that easy.
But it doesn't stop there. You can also dive into adjustments to tweak the look of your video. The app gives you simple sliders for things like brightness, contrast, shadows, and saturation, which lets you control the overall vibe. For that sunset video, a tiny boost in saturation can make the colours really pop.
If your framing is off, you can also learn how to rotate, enlarge, and adjust videos on your iPhone to get it looking perfect.
Quick Edits in Photos App vs iMovie
Deciding which built-in tool to use can be confusing. The Photos app is your go-to for single-clip touch-ups, while iMovie is for when you're piecing together a story. This little comparison should clear things up.
Editing Task | Best for Photos App | Best for iMovie |
|---|---|---|
Trimming a single video | Yes - Super fast and intuitive. | Yes - But better for trimming clips as part of a larger project. |
Cropping and straightening | Yes - Perfect for fixing a crooked horizon. | No - Lacks simple crop/straighten tools. |
Adjusting colour and light | Yes - Great for quick enhancements on one clip. | Yes - Offers more control to match colours across multiple clips. |
Adding text or titles | No - This isn't a feature here. | Yes - Full-featured title and text options. |
Combining multiple clips | No - It only edits one video at a time. | Yes - This is what iMovie is designed for. |
Adding background music | No - You can't add a separate audio track. | Yes - Easily add music from your library or iMovie's collection. |
Ultimately, it’s about matching the tool to the task. If you’ve got one clip that needs a quick polish, stick with the Photos app. If you’re building something bigger, head over to iMovie.
This decision tree helps visualise whether your project is a better fit for a quick edit in the Photos app or a more detailed project in iMovie.

The key takeaway is to match the tool to your goal; the Photos app is ideal for speed and simplicity, while iMovie is built for storytelling with multiple elements.
Applying Filters and Final Touches
Sometimes, all you need is a one-tap filter to completely change the mood of a clip. The Photos app has a decent selection to choose from, whether you want something dramatic like "Vivid" or the classic "Noir" for a black-and-white look.
Remember, the goal of these quick edits is to enhance, not overhaul. A few subtle tweaks can make your video look significantly more polished without you having to spend ages on it.
Once you get the hang of these simple tools, you’ll be able to improve your videos in just a few moments, getting them ready for your social media feed or for sharing with friends and family.
How to Create Projects in iMovie
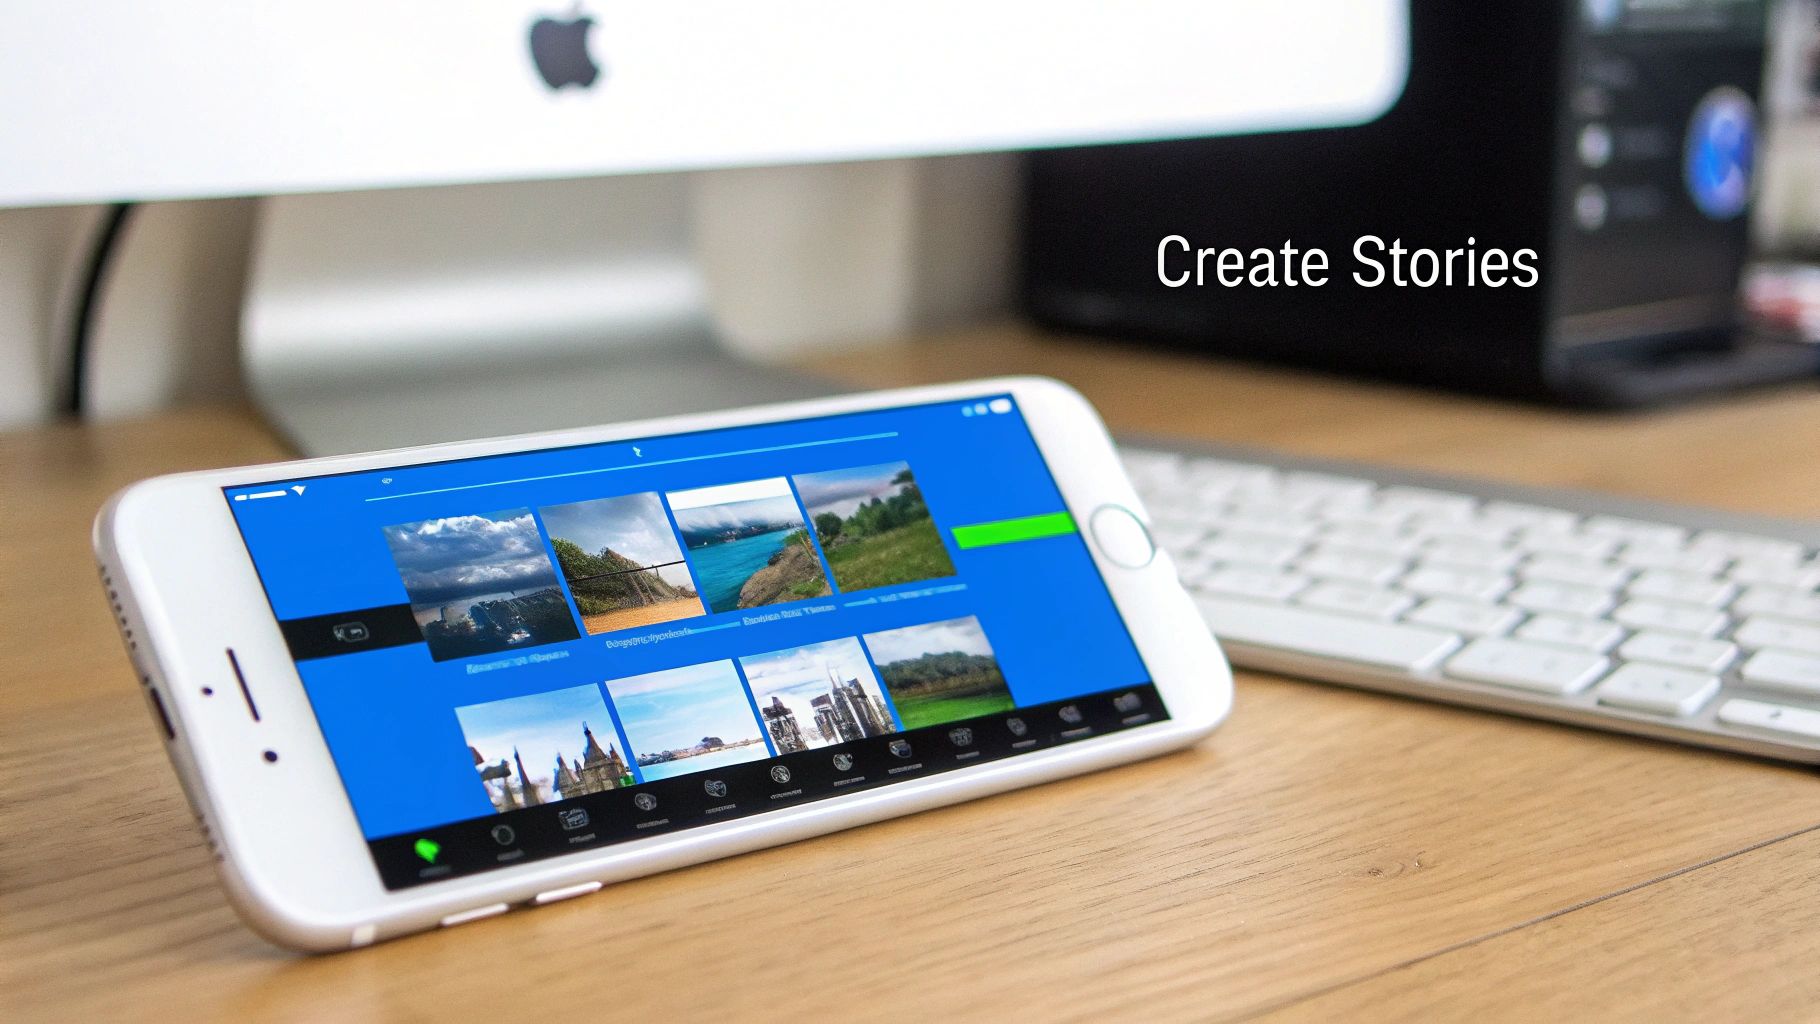
Ready to move beyond simple trims and filters? When the Photos app feels too limiting, iMovie is the natural next step. This is where you graduate from tweaking single clips to actually building a story from the ground up, turning separate videos into a single, polished piece.
Instead of just editing one video at a time, iMovie lets you arrange multiple clips on a timeline. This visual layout is the heart of video editing, giving you a bird's-eye view of how your story flows from one scene to the next.
Building Your Story on the Timeline
Think of the iMovie timeline as your digital canvas. You start by picking the videos and photos you want from your library and dropping them into the sequence you envision. It’s like laying out the chapters of your book before you start writing.
From there, you have complete control. You can drag clips to reorder them, pinch to trim the start and end points with pinpoint accuracy, or split a long recording into smaller segments.
Let's say you're putting together a short travel vlog. You might start with a scenic landscape shot, then follow it with clips of your activities. On the timeline, you could easily shorten a long, wobbly walking scene and let that perfect sunset shot linger for a few extra seconds to make an impact.
With the massive growth in iPhone manufacturing right here in India, powerful tools like iMovie are in more hands than ever. As India hits record iPhone export numbers, we're seeing a huge wave of creators discovering just how good mobile editing can be. This is sparking a boom in high-quality video content made entirely on a phone. You can read more about India's expanding role in iPhone exports on timesofindia.indiatimes.com.
Adding Professional Touches with Transitions and Audio
A good video isn't just a sequence of clips—it's about the polish. Transitions are what glue your scenes together, creating a smooth visual flow. iMovie gives you some great, classic options to work with:
Dissolve: This creates a gentle fade between two clips. It’s perfect for a softer, more dream-like feel.
Slide: One scene literally slides off the screen to reveal the next, adding a nice bit of energy and movement.
Wipe: A line moves across the screen, wiping one scene away to introduce another. A classic, clean effect.
Sound is at least half the battle. A silent video feels lifeless, but adding the right background music can instantly change the entire mood. iMovie comes with a library of royalty-free soundtracks you can pop in with just a tap.
Getting the audio balance right is crucial, though. You can easily lower the music's volume during clips where someone is talking, making sure every word is heard clearly. And if you want to add your own narration, our guide on how to add voice to video walks you through the process step-by-step.
The real magic happens when you synchronise your edits with the music. Try cutting to a new scene right on a beat drop—it’s a simple trick that makes your video feel incredibly professional and dynamic.
Finally, don't forget to add text and titles. Use them to introduce a new location, name a person on screen, or just add a bit of context. iMovie has plenty of styles, from simple lower-thirds to dramatic, cinematic openers. These are the finishing touches that transform your project from a simple collection of clips into a compelling story you'll be proud to share.
Stepping Up Your Game with Third-Party Editing Apps
While Apple’s built-in apps are a brilliant starting point, the App Store is a treasure trove of powerful editing tools that can truly make your videos shine. Think of these apps as specialised toolkits—some are built for creating viral TikToks, while others are designed for crafting more cinematic short films.
This is especially true in India, where the appetite for mobile video creation is exploding. The market is projected to hit an incredible USD 0.29 billion by 2033, fuelled by a massive and highly engaged digital audience. This boom means there's a huge demand for apps that are both powerful and easy to pick up. You can dig deeper into this trend with insights on the Indian mobile video editing market from Straits Research.
CapCut for Chasing Social Media Trends
If you've scrolled through TikTok or Instagram Reels lately, you’ve definitely seen a video made with CapCut. It has become the undisputed champion for creators making short-form content, and for good reason. It’s absolutely jam-packed with the latest trending effects, filters, and audio clips.
What makes CapCut so good is its ability to make complex edits feel effortless. Its timeline is a breeze to use, and the massive template library lets you jump on a new trend without spending hours figuring it out. Adding things like auto-captions, snappy transitions, and viral sounds is just a matter of a few taps.
InShot for All-in-One Simplicity
For a fantastic all-rounder, InShot is a top contender. Its real strength lies in its simple, intuitive interface and its laser focus on formatting. It makes resizing your video for different platforms ridiculously easy—whether you need a square for an Instagram post, a vertical clip for Stories, or a standard 16:9 for YouTube.
But it’s not just about resizing. InShot comes with a solid set of core editing tools for trimming clips, adding music, layering on filters, and dropping in text or stickers. It strikes that perfect balance between being easy to use and giving you enough creative freedom. This makes it a reliable workhorse for anyone posting on multiple platforms.
If you want to get a better handle on what's out there, it's worth taking some time to explore various video editor functionalities and see what's possible.
The right third-party app is simply the one that slots perfectly into how you work. If you live and breathe TikTok, CapCut is essential. If you need a versatile tool for all your social platforms, InShot is a brilliant place to start.
And if you ever find yourself needing even more horsepower, apps like LumaFusion deliver a full-blown, desktop-level editing experience on your iPhone. For those just getting their feet wet, take a look at our guide on the best video editing software for beginners to see how these mobile powerhouses stack up.
Exporting and Sharing Your Finished Video
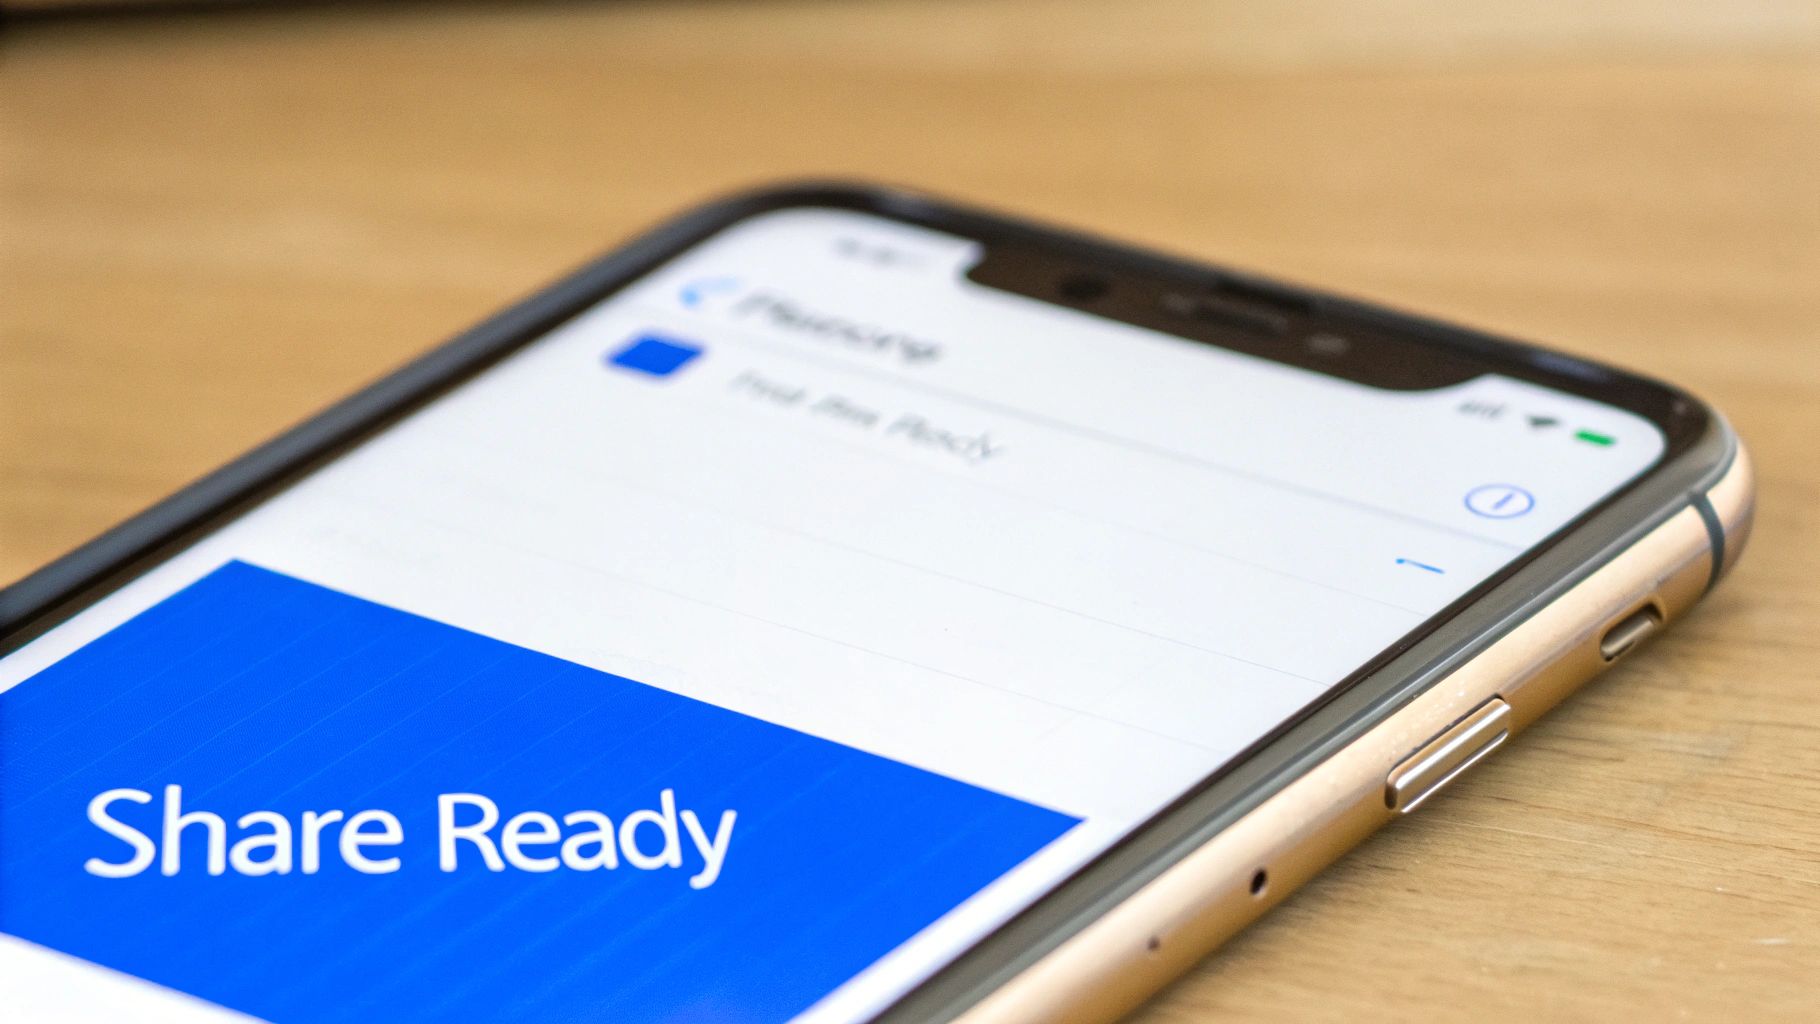
You’ve done the hard work of editing, and now it’s time for the final, crucial step: getting your video ready for the world to see. Exporting isn't just a case of hitting 'save'. It’s about making smart choices so your video looks sharp and professional, wherever you decide to post it.
The key is finding the right balance between quality and file size. This comes down to two main settings: resolution and frame rate. Resolution is all about clarity. 1080p is a fantastic all-rounder for most social media, but 4K is an option if you want jaw-dropping detail—just be ready for a much larger file.
Frame rate, measured in frames per second (fps), controls the smoothness of the motion. While 30 fps is the standard for a clean, cinematic feel, bumping it up to 60 fps can give you that ultra-smooth look, which is brilliant for fast-paced action shots.
Choosing the Right Export Settings
There's no single "best" setting for every situation. Where your video is going to live should dictate how you export it. A one-size-fits-all approach often results in blurry text or strange formatting.
Here’s a quick cheat sheet I always come back to:
YouTube: I always aim for the highest quality here. Export in 1080p or even 4K at either 30 or 60 fps. YouTube compresses videos heavily, so starting with a high-quality file helps it look its best after processing.
Instagram Reels & TikTok: These platforms are all about mobile. Stick to a vertical format and export at 1080p and 30 fps. This gives you great quality without the long upload times.
Text Message/WhatsApp: For sharing with friends, file size is everything. A smaller 720p export will send quickly and won't eat up everyone's mobile data.
A classic mistake I see all the time is exporting everything at the highest possible settings. This creates huge files that take forever to upload, and honestly, the viewer on their phone often can't even see the difference.
One last thing to consider, especially if your video has people talking, is captions. They make your content accessible and boost engagement significantly. If you're interested, you can learn how to create SRT file captions to add to your projects.
By tailoring your export settings to the platform, you’re making sure all your hard work pays off and your video looks exactly how you intended.
Conclusion
You're now equipped to take those raw clips sitting on your iPhone and transform them into polished, compelling videos. We’ve walked through everything from the simple tweaks in the Photos app to creating a full-blown edit with iMovie.
Honestly, the best thing you can do now is just dive in and start creating. Get your hands dirty. Play around with different transitions, experiment with filters, and develop a look that’s uniquely yours. Don’t worry about getting it perfect on the first try; the goal is to experiment and discover what you enjoy.
Your iPhone is a pocket-sized production studio. The real magic happens when you get out there to film and start telling your stories. As you edit more, you’ll quickly realise that great audio is just as crucial as beautiful footage. Learning some simple tricks for effective video background noise removal can make a world of difference and give your videos that professional sheen.
FAQ
1. Can My iPhone Really Handle Editing 4K Video?
Yes, it absolutely can. Newer iPhones are built to shoot and edit 4K video right out of the box. Both the built-in Photos app and iMovie are powerful enough to manage these high-resolution files smoothly. Just be aware that 4K clips take up a ton of storage space and can drain your battery quicker during long editing sessions.
2. What’s the Best Free App for Editing on iPhone?
For the best all-rounder, you can't go wrong with Apple's own iMovie. It's completely free, doesn't add a watermark, and has all the core tools you need. That said, if your videos are mostly for social media, CapCut is another fantastic choice, famous for its trendy effects and easy-to-use templates for platforms like TikTok and Instagram Reels.
3. How Do I Add Music Without Getting a Copyright Strike?
This is a big one. To stay out of trouble, you must use royalty-free music. The easiest way is to use the soundtracks already built into iMovie, as they're all cleared for you to use. Another great resource is the YouTube Audio Library. You can browse thousands of free tracks, download them to your Files app, and then import them straight into your editing project.